Essence of summer, intense raspberry flavour right here. I honestly am blown away by how excellent this jam is – and just two ingredients, raspberries and sugar. The raspberries I bought at the St. Jacobs Market from a reasonably local farm were still on the canes mere hours before purchase, and their quality truly could not have been better.
The source recipe I consulted called for equal parts berries and sugar, but I knew that would be way too sweet. I used about 2/3 cups of sugar per cup of berries, and even then I could have used a smidge less for my taste. However, my family all have a slightly sweeter sweet tooth than me, and they assure me this proportion was ideal.
You’ll need:
12 cups fresh raspberries
8 cups white sugar
13 half-pint (250 mL) mason jars
13 snap lids and rings
Directions for cooking and canning:
Wash your Mason jars in hot soapy water. Rinse well. Since your jam will be boiling in the water bath for 10 minutes, you don't need to pre-sterilize.
Here’s a weird step I just learned about, but it seems very effective: Place sugar in an ovenproof pan or bowl and heat it in the oven at 250°F (120°C) for about 15 minutes. It should feel hot to the touch. Be careful not to leave it in too long or the sugar will begin to melt around the edges of the bowl and will eventually caramelize. (Why this step? If you add cold sugar to jam, it will take longer to return to the boil and will taste less fresh. If this jam is anything to go by, it really does make a difference!)
While your sugar is heating, start heating your water bath. Add a splash of white vinegar for hard water.
Gently but thoroughly rinse your raspberries just before you are ready to use them.
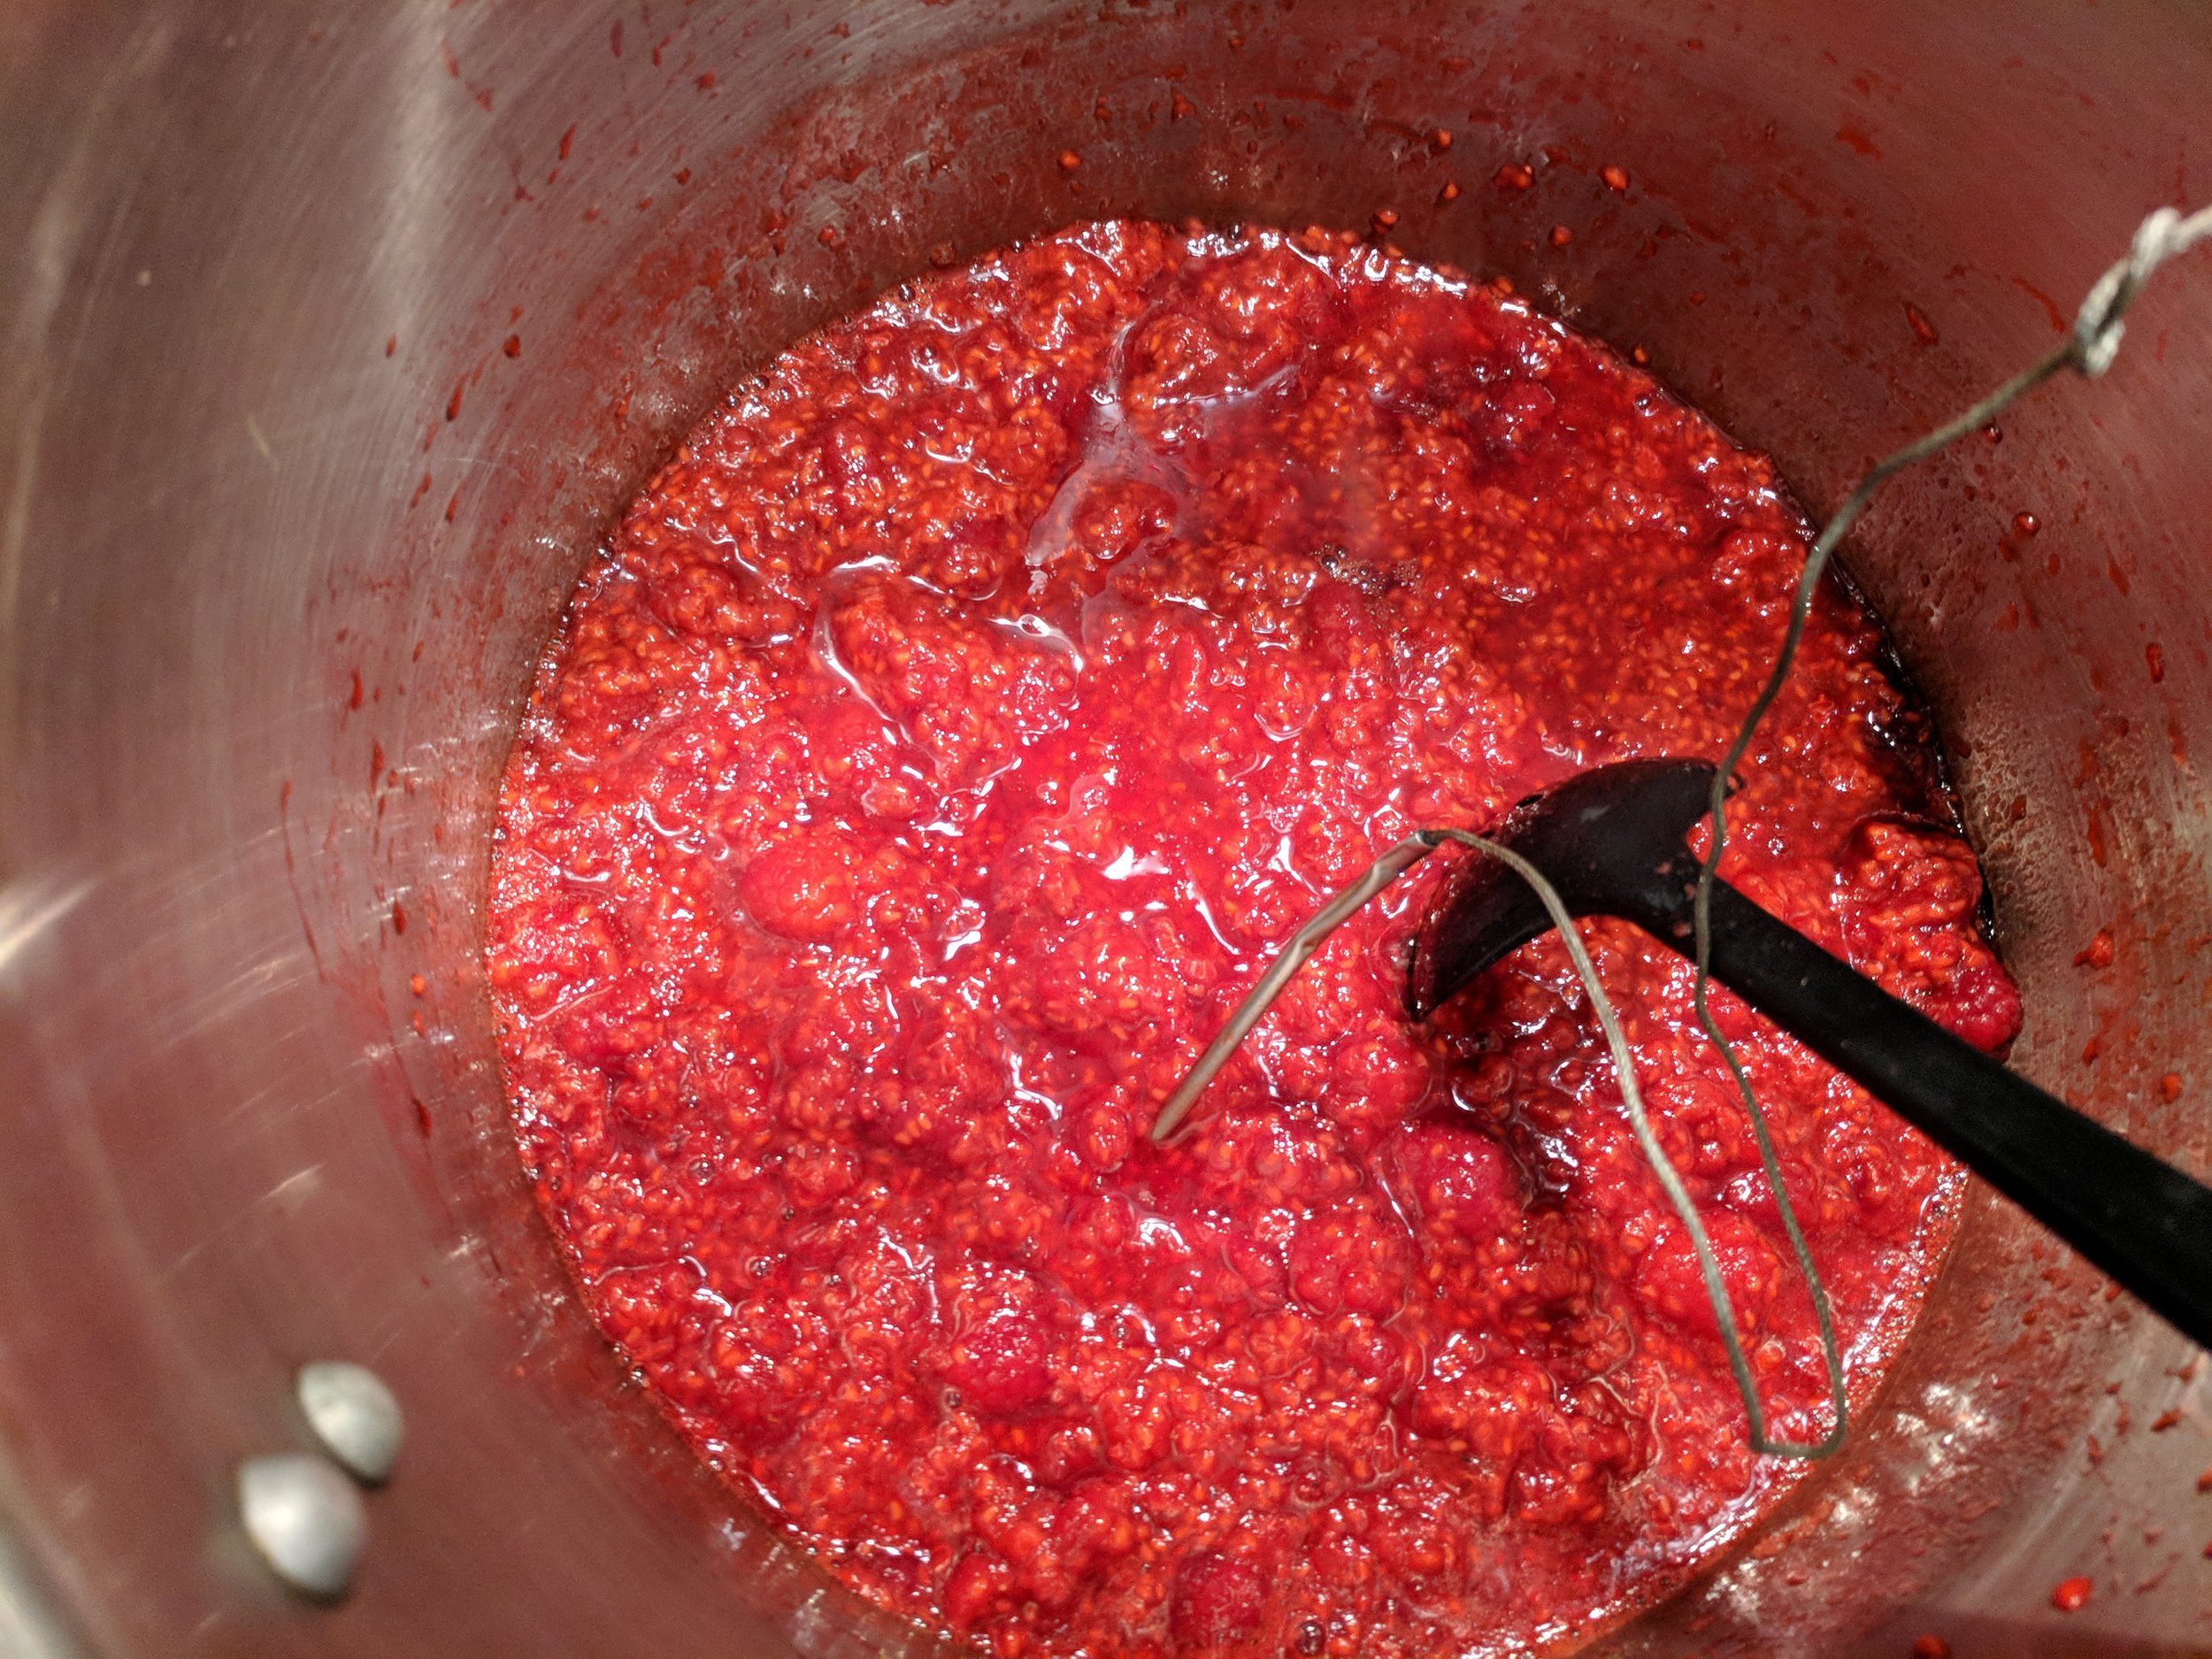
Place berries in a large stainless steel or enamel saucepan. Bring to a full boil over high heat, stirring often (really no need to mash; stirring will do the job nicely). Boil hard for 1 minute, stirring constantly.
Add warm sugar (use oven mitts!), and bring back to a boil, stirring constantly, for 5 minutes. Remove from heat.
Test if the jam is ready to gel:
· Use a candy thermometer, and when it hits 220ºF (105ºC), the jam is set, or
· Put a plate in the fridge to chill. When the jam looks as though it's almost set, take a teaspoonful and put it onto the cold plate. Push the outer edge of the jam puddle into the centre with your index finger. If the jam wrinkles even a little, it will set.
8. Put the snap lids in hot water to soften. It doesn't have to be boiling.
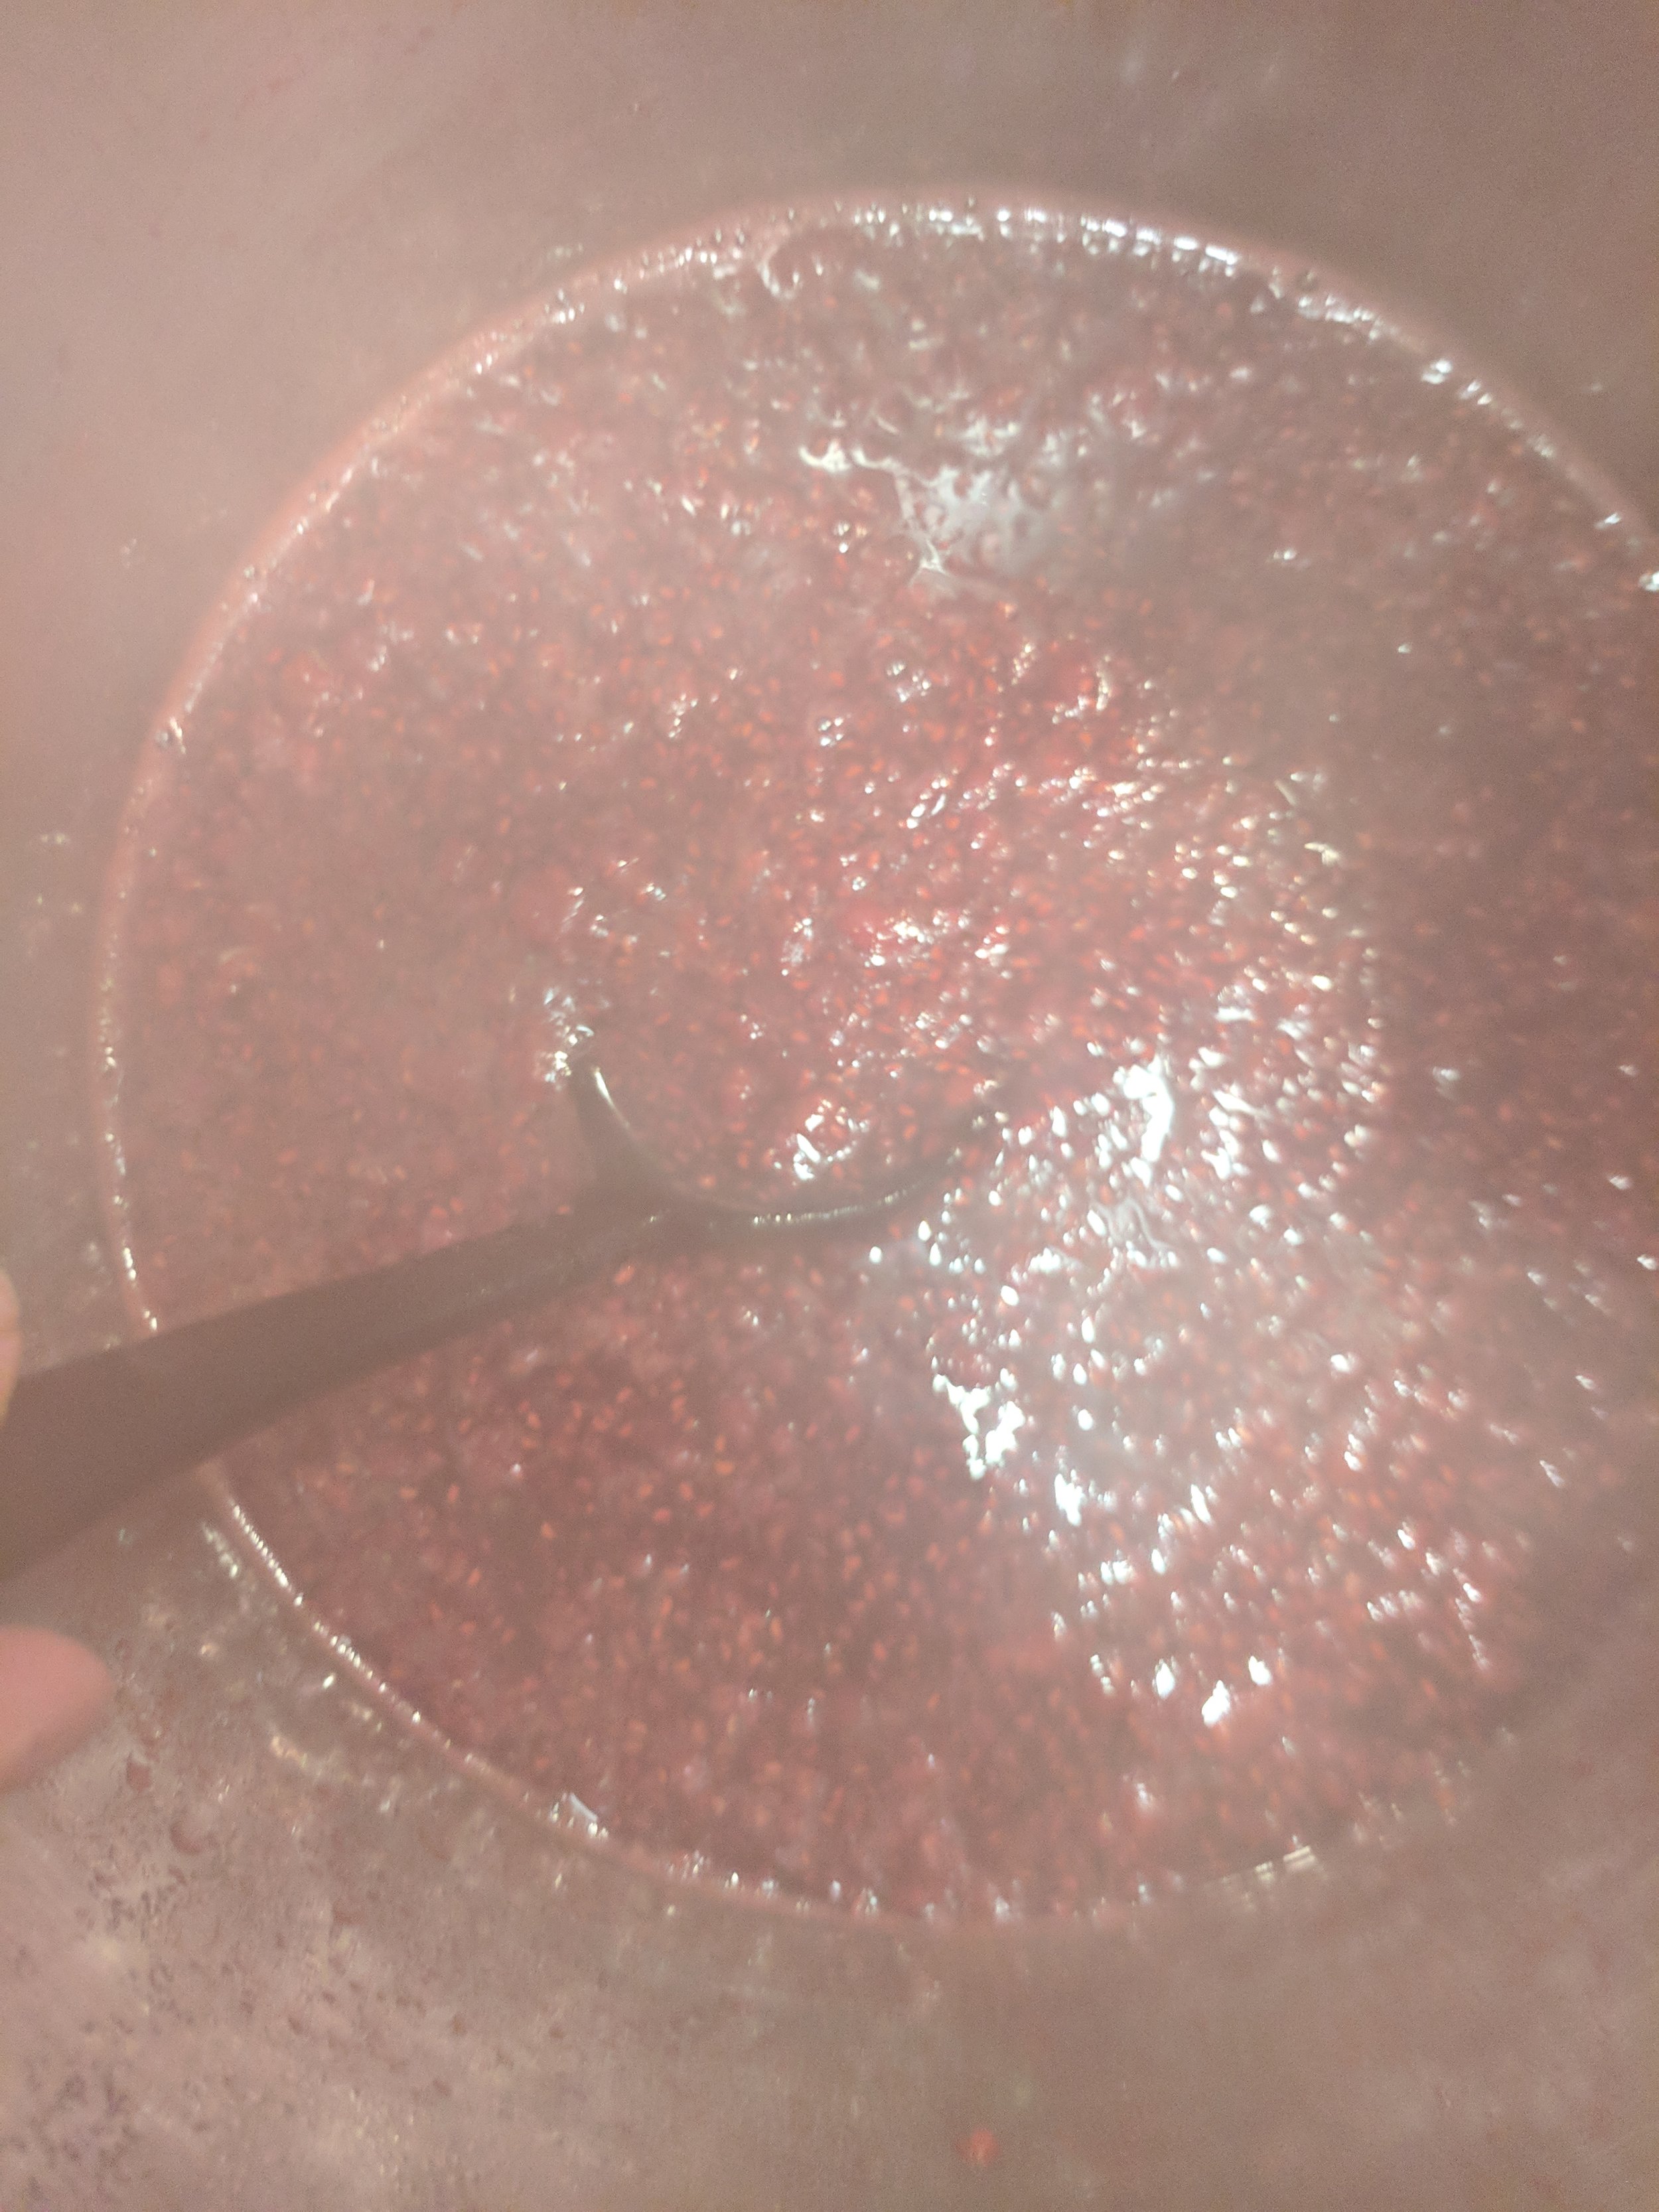
9. Assuming your jam is gel-ready, stir and skim foam for a few minutes until it’s clear on the surface.
10. Quickly ladle hot jam into hot jars, using a wide mouth funnel. Leave 0.5 cm headspace.
11. "Bubble" each jar with a skewer or chopstick to release any trapped air. Wipe each rim with a clean paper towel dipped in vinegar. Place the snap lid down and screw the ring on finger tip tight.
12. Put the jars into your water bath canner. Make sure there is at least an inch of water above the top of your jars. Put the canner lid on and return to the boil for 10 minutes. Don't start your timer until the water is boiling.
13. Remove jars from the canner or let them sit in the canner until everything calms down.
14. Make sure all the jars are sealed before you put them away. Any that still haven’t popped to seal by the next day go in the fridge.
Glorious!!


