• Index
  • Jars
  • Sticks
  • Pages
  • Thoughts
Menu

My little corner

Ashore
Afloat
ALL COZIED UP

Your Custom Text Here

My little corner

  • Index
  • Jars
  • Sticks
  • Pages
  • Thoughts
jars.jpg

If you love it, put it in a jar.

Do-able, delicious recipes that belong in a jar. Water bath canning, pressure canning, and other edible treasures. 

Rhubarb orange jelly

June 1, 2021 Frances Ranger
PXL_20210601_135919607.jpg

I said I wanted to try something different with rhubarb this year and, behold, I went and did it! I haven’t made a lot of jellies, so that was a nice switch-up too. And the colour, divine. This jelly is a lovely sweet-tart. The original recipe suggests it for breakfast or as an accompaniment to chicken or pork. In our house, it’ll no doubt be friends with toast.

You’ll need:

  • 10 cups chopped rhubarb (about 3 lbs)

  • 1 orange (plus i used a few bonus clementines)

  • 1 and a 1/2 cup water

  • 1 pkg light fruit pectin crystals (I use Certo Light in the blue box)

  • 3 and 1/2 cups white sugar

  • 5 or 6 250 ml mason jars with rings and lids

Making the juice

  1. Wash the orange, peel and all. To make it extra juicy, press down on the orange and roll it around on your cutting board. Halve and squeeze juice from orange into large stainless steel pot.

  2. Cut the now mushed-up orange into wedges and add to pot. Add rhubarb and water.

  3. Bring to a boil, stirring occasionally.

  4. Reduce heat, cover and simmer until rhubarb is tender, about 10 minutes. With potato masher, mash any chunks.

  5. Wet and wring out jelly bag or several layers of cheese cloth. Suspend jelly bag on frame or layer cheese cloth in colander over a large measuring cup or bowl. Fill with rhubarb mixture.

  6. Let drip – no squeezing allowed! – until you get about 4 cups (1 L)of juice. It will likely take at least 2 hours. Try as I might, I only ended up with 3 and 1/2 cups of juice. I guess my rhubarb wasn’t super juicy. So I squeezed in 3 more clementines and topped up with a splash of water.

Making the jelly

  1. Wash your jars in hot soapy water.

  2. Start heating your water bath. If your water is hard, you can add a splash of white vinegar to help prevent water stains.

  3. Mix pectin crystals with 1/4 cup of the sugar.

  4. Put the juice in a large stainless steel pot. Stir the pectin mixture into the juice.

  5. Bring juice to a full rolling boil over high heat and stir in remaining sugar.

  6. Return to full rolling boil. Boil hard, stirring constantly, for 1 minute.

  7. Remove from heat and skim off any foam.

  8. Put the lids in a saucepan of water and bring to a simmer. Keep them in the hot water until you are ready to use them. Lid manufacturers say this is no longer necessary, but I still do it.

  9. Fill each jar, leaving 1/4-inch (5 mm) headspace. If you are working in an air conditioned or otherwise chilly kitchen, it’s a good idea to heat your jars before filling so they aren’t shocked by the heat of the jelly.

  10. "Bubble" each jar with a skewer or chopstick to release any trapped air. Wipe each rim with a clean paper towel dipped in vinegar. Place the snap lid down and screw the ring on fingertip tight.

  11. Put the jars into your water bath canner. Make sure there is at least an inch of water above the top of your jars. Put the canner lid on and return to the boil for 10 minutes. Don't start your timer until the water is boiling.

  12. Remove jars from the canner or let them sit in the canner until everything calms down.

  13. Make sure all the jars are sealed before you put them away. Any that still haven’t sealed within 24 hours go in the fridge.

Mine all sealed beautifully. Love them pops! I am hoping the jelly continues to firm up a bit over the next few days as it’s a tad runny. I’m told jelly can take up to 2 weeks to completely set, so fingers crossed!

Source: http://www.canadianliving.com/food/recipe/rhubarb-orange-jelly

PXL_20210601_135642961.jpg
In Jelly
Comment

Christmas tea jelly

November 24, 2019 Frances Ranger
IMG_20191117_121519.jpg

Perfect for gifting – at least I most sincerely hope so. I’m making the ever-popular Rioja wine jelly for some friends this Christmas, and I wanted an equally special option for those who avoid alcohol. When I tried the Stash Christmas Eve tea at my book club (yes, I finally joined a book club!), I fell in love with it right away. So here we go!

IMG_20191124_155209.jpg

You’ll need: 

  • 8 herbal tea bags (I used Stash Christmas Eve Tea; pick your fav)

  • 1 box Pomona’s Pectin
    4 teaspoons calcium water
    4 teaspoons Pomona’s Pectin powder

  • Cinnamon stick, if desired

  • ½ t peppermint extract, if desired

  • 1/4 c lemon juice

  • 2 c sugar (or a little less or a little more, to taste)

  • 4 250ml (half-pint) jars, 125 ml jar

  • 5 snap lids and rings 

Cooking and Canning:

  1. Prepare calcium water. To do this, combine ½ teaspoon calcium powder (in the small packet in your box of Pomona’s pectin) with ½ cup water in a small, clear jar with a lid. Shake well. Extra calcium water should be stored in the refrigerator for future use.

  2. Make 4 cups strong herbal tea using your preferred tea bags and any additional spices you choose. I used 8 tea bags for 5 cups of water and added a cinnamon stick and peppermint extract to complement the flavours of the tea. After coming to a boil and then simmering for maybe an hour or so, I was down to about 4.5 cups of tea. Next time, I might add another couple of teabags to make the flavour even stronger.  

  3.  Wash jars, lids, and bands. Place jars in canner, fill canner 2/3 full with water (add a splash of white vinegar if your water is hard), and bring to a boil. Turn off heat, cover, and keep jars in hot canner water until ready to use. 

  4. Pour the tea into a large pot.  (I strained at this step to ensure it was clear.) Add 4 tsp calcium water and the lemon juice and mix well.

  5. Measure sugar into a bowl. Thoroughly mix pectin powder into sugar. Set aside.

  6. Bring tea mixture to a full boil. Add pectin-sugar mixture, stirring vigorously for 1 to 2 minutes to dissolve the pectin while the jelly comes back up to a boil. Once the jelly returns to a full boil, remove it from the heat.

  7. Fish your jars out of the hot water and put your lids in for at least two minutes. (They don’t need to boil.) 

  8. Fill hot jars to ½ cm of top with jelly. Bubble each jar with a chopstick. Wipe rims clean with dampened paper towel. 

  9. Screw on lids to fingertip tight. Put filled jars in waterbath, covered to at least 1 inch over their heads. Don’t start timer until the water is boiling. Boil 10 minutes. Remove from water. Let jars cool. 

  10. Listen for pops. Any jars not sealed within 24 hours should be refrigerated. 

IMG_20191117_140612.jpg
In Jelly
Comment

Dandelion jelly

June 2, 2018 Frances Ranger
Photo by Marija M. on Unsplash

Photo by Marija M. on Unsplash

You may be wondering what the heck I've been up to. Six months without making anything in jars?? Well, not exactly. I made a bazillion jars of various wine jellies from this recipe for Christmas gifts for friends at work and home – huge hit. And I just recently made a big batch of rhubarb pie filling from this recipe to restock the shelves for next winter. But yes, mostly I've been knitting – have I mentioned the delightful baby boom amongst my colleagues? – working, sleeping, and just being. Life, it happens. 

I have, however, also been waiting anxiously for dandelion season to roll around (bet that's a sentence you've never heard before!) since last summer when I tried dandelion jelly at my aunt and uncle's in Nova Scotia. It was so lovely tasting and so gorgeously light yellow. My version is deeper in colour and and I think not quite the same in flavour (maybe somehow wilder tasting? is that a thing?), but altogether a success in my opinion as well.   

You'll need:

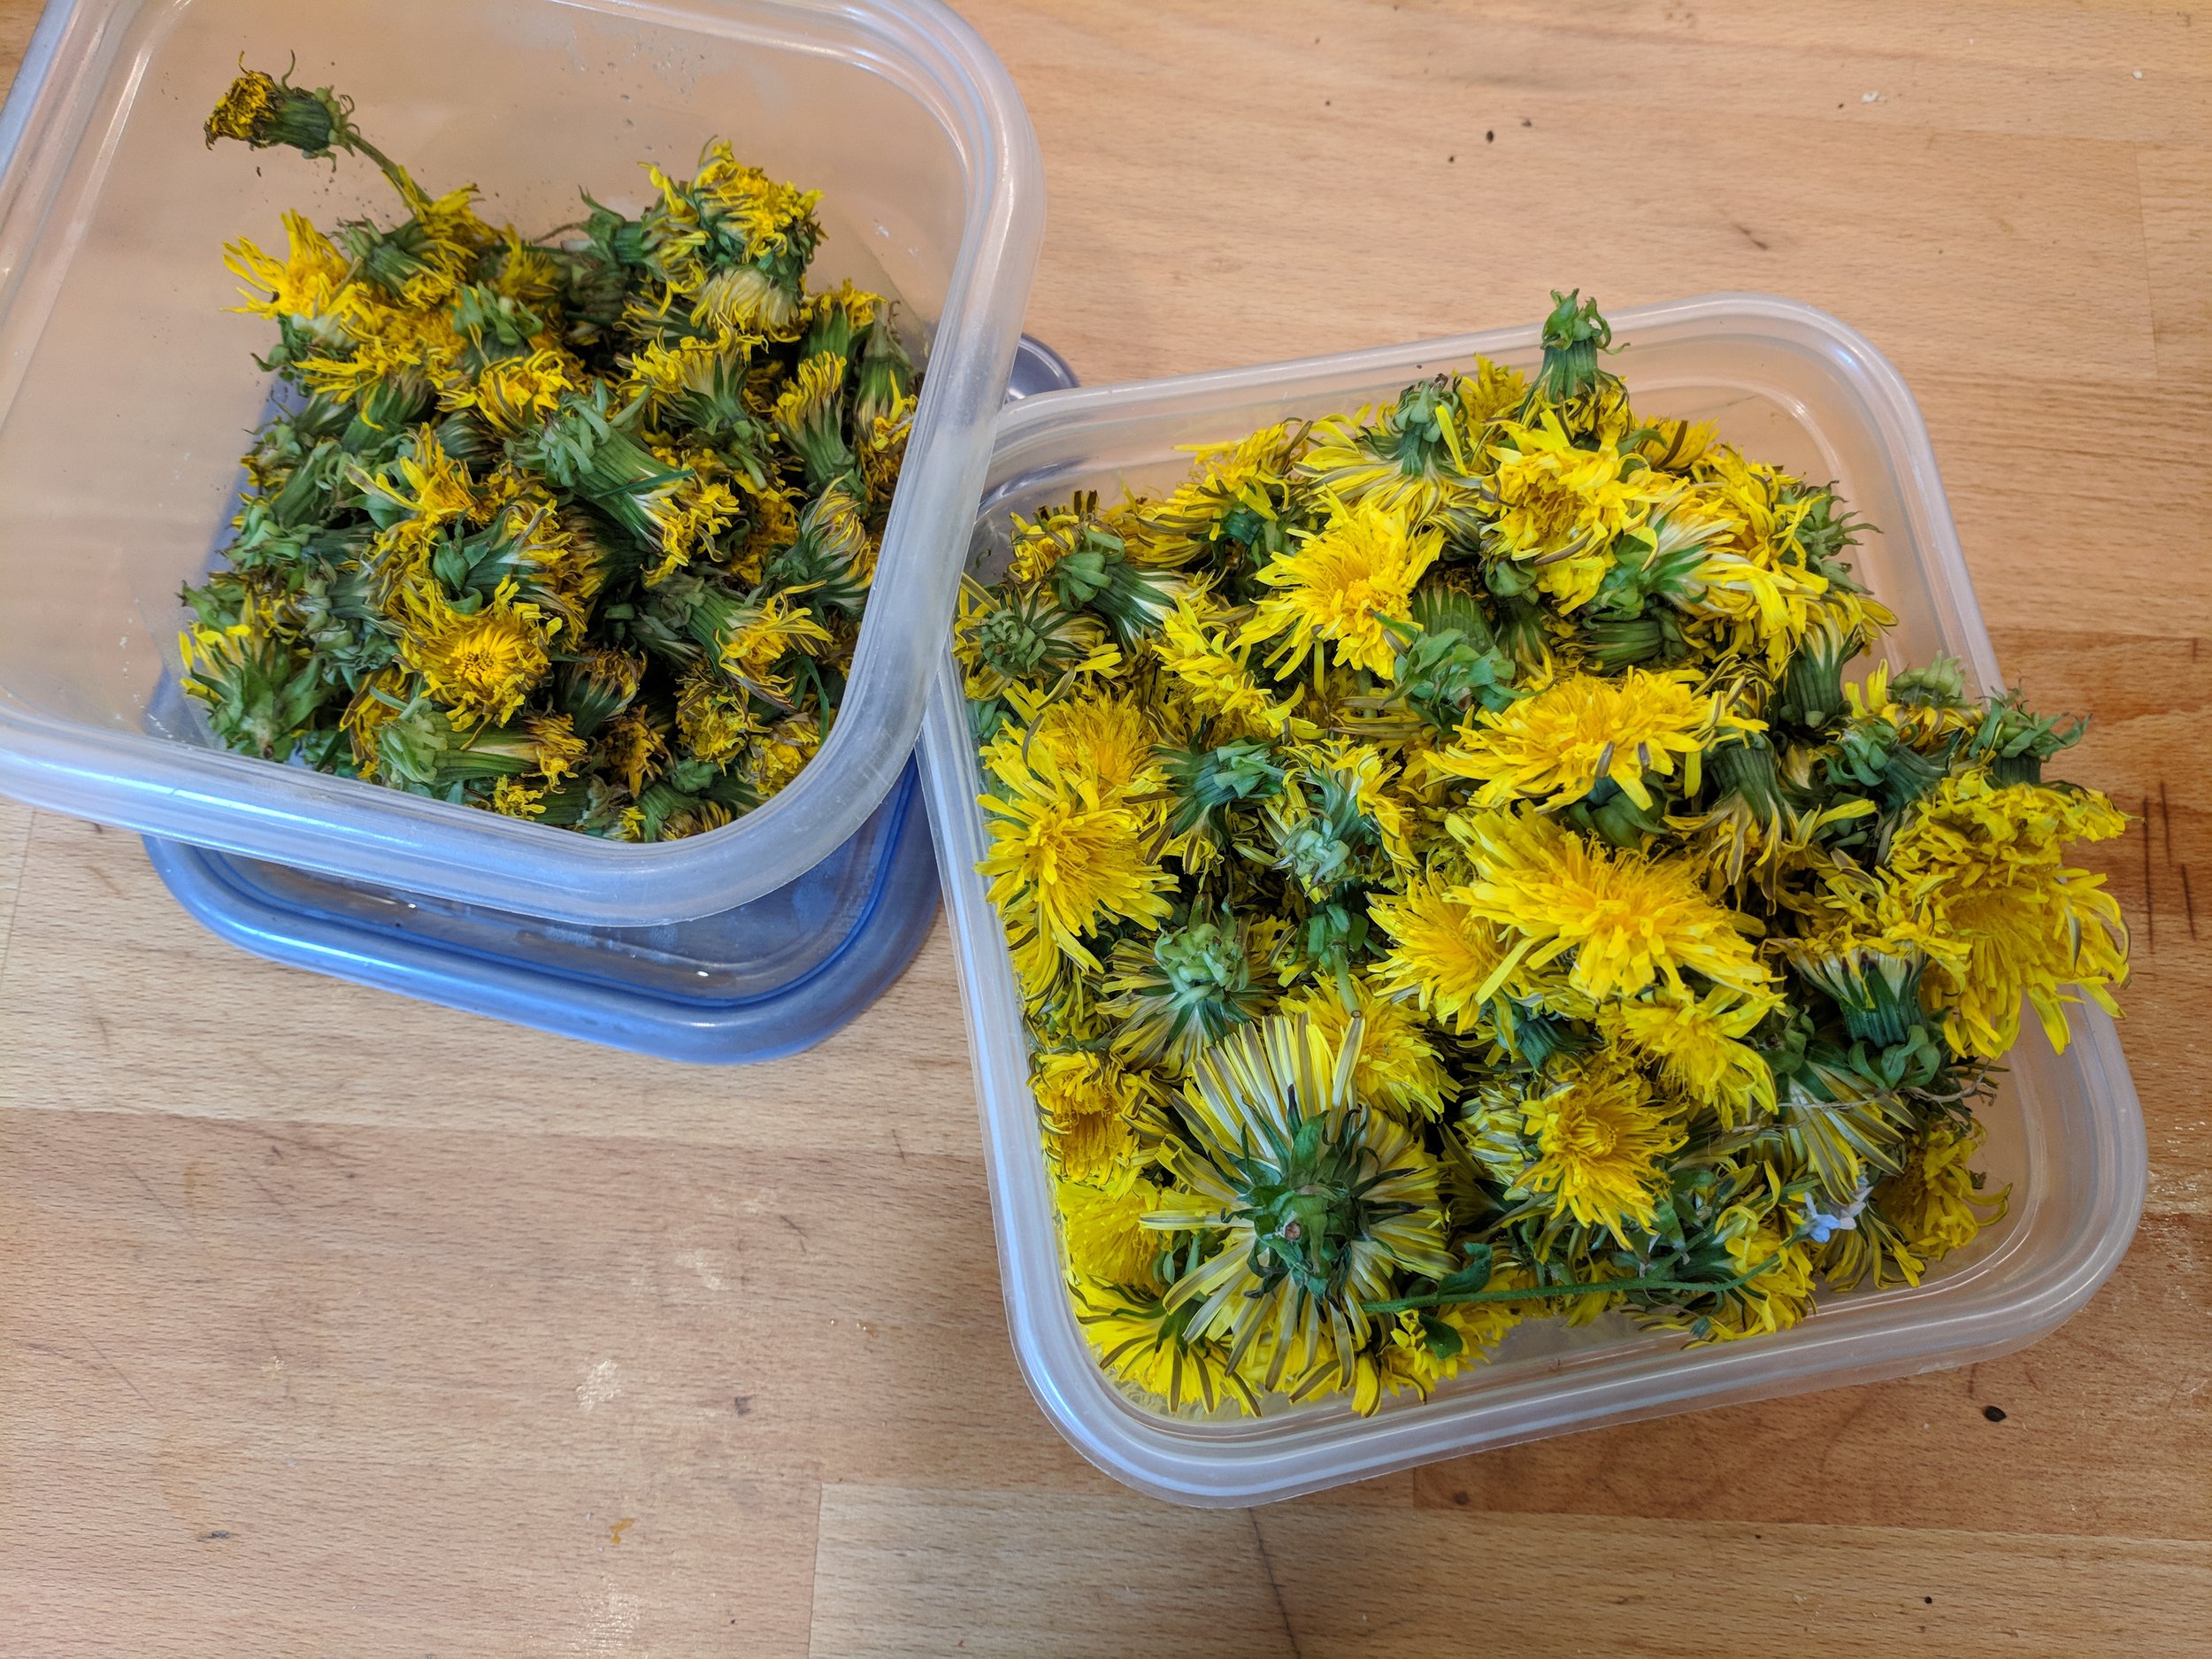
  • Crapload of herbicide-free dandelions (4 cups of just petals and fluff) 

  • 4 1/2 cups sugar

  • Light Certo (my preference, anyway)

  • 2 Tbsp lemon juice

  • 6 250 mL (half-pint) mason jars

  • 6 snap lids and rings

IMG_20180520_175645.jpg
IMG_20180520_203140.jpg
IMG_20180521_180922.jpg

Preparing the tea:

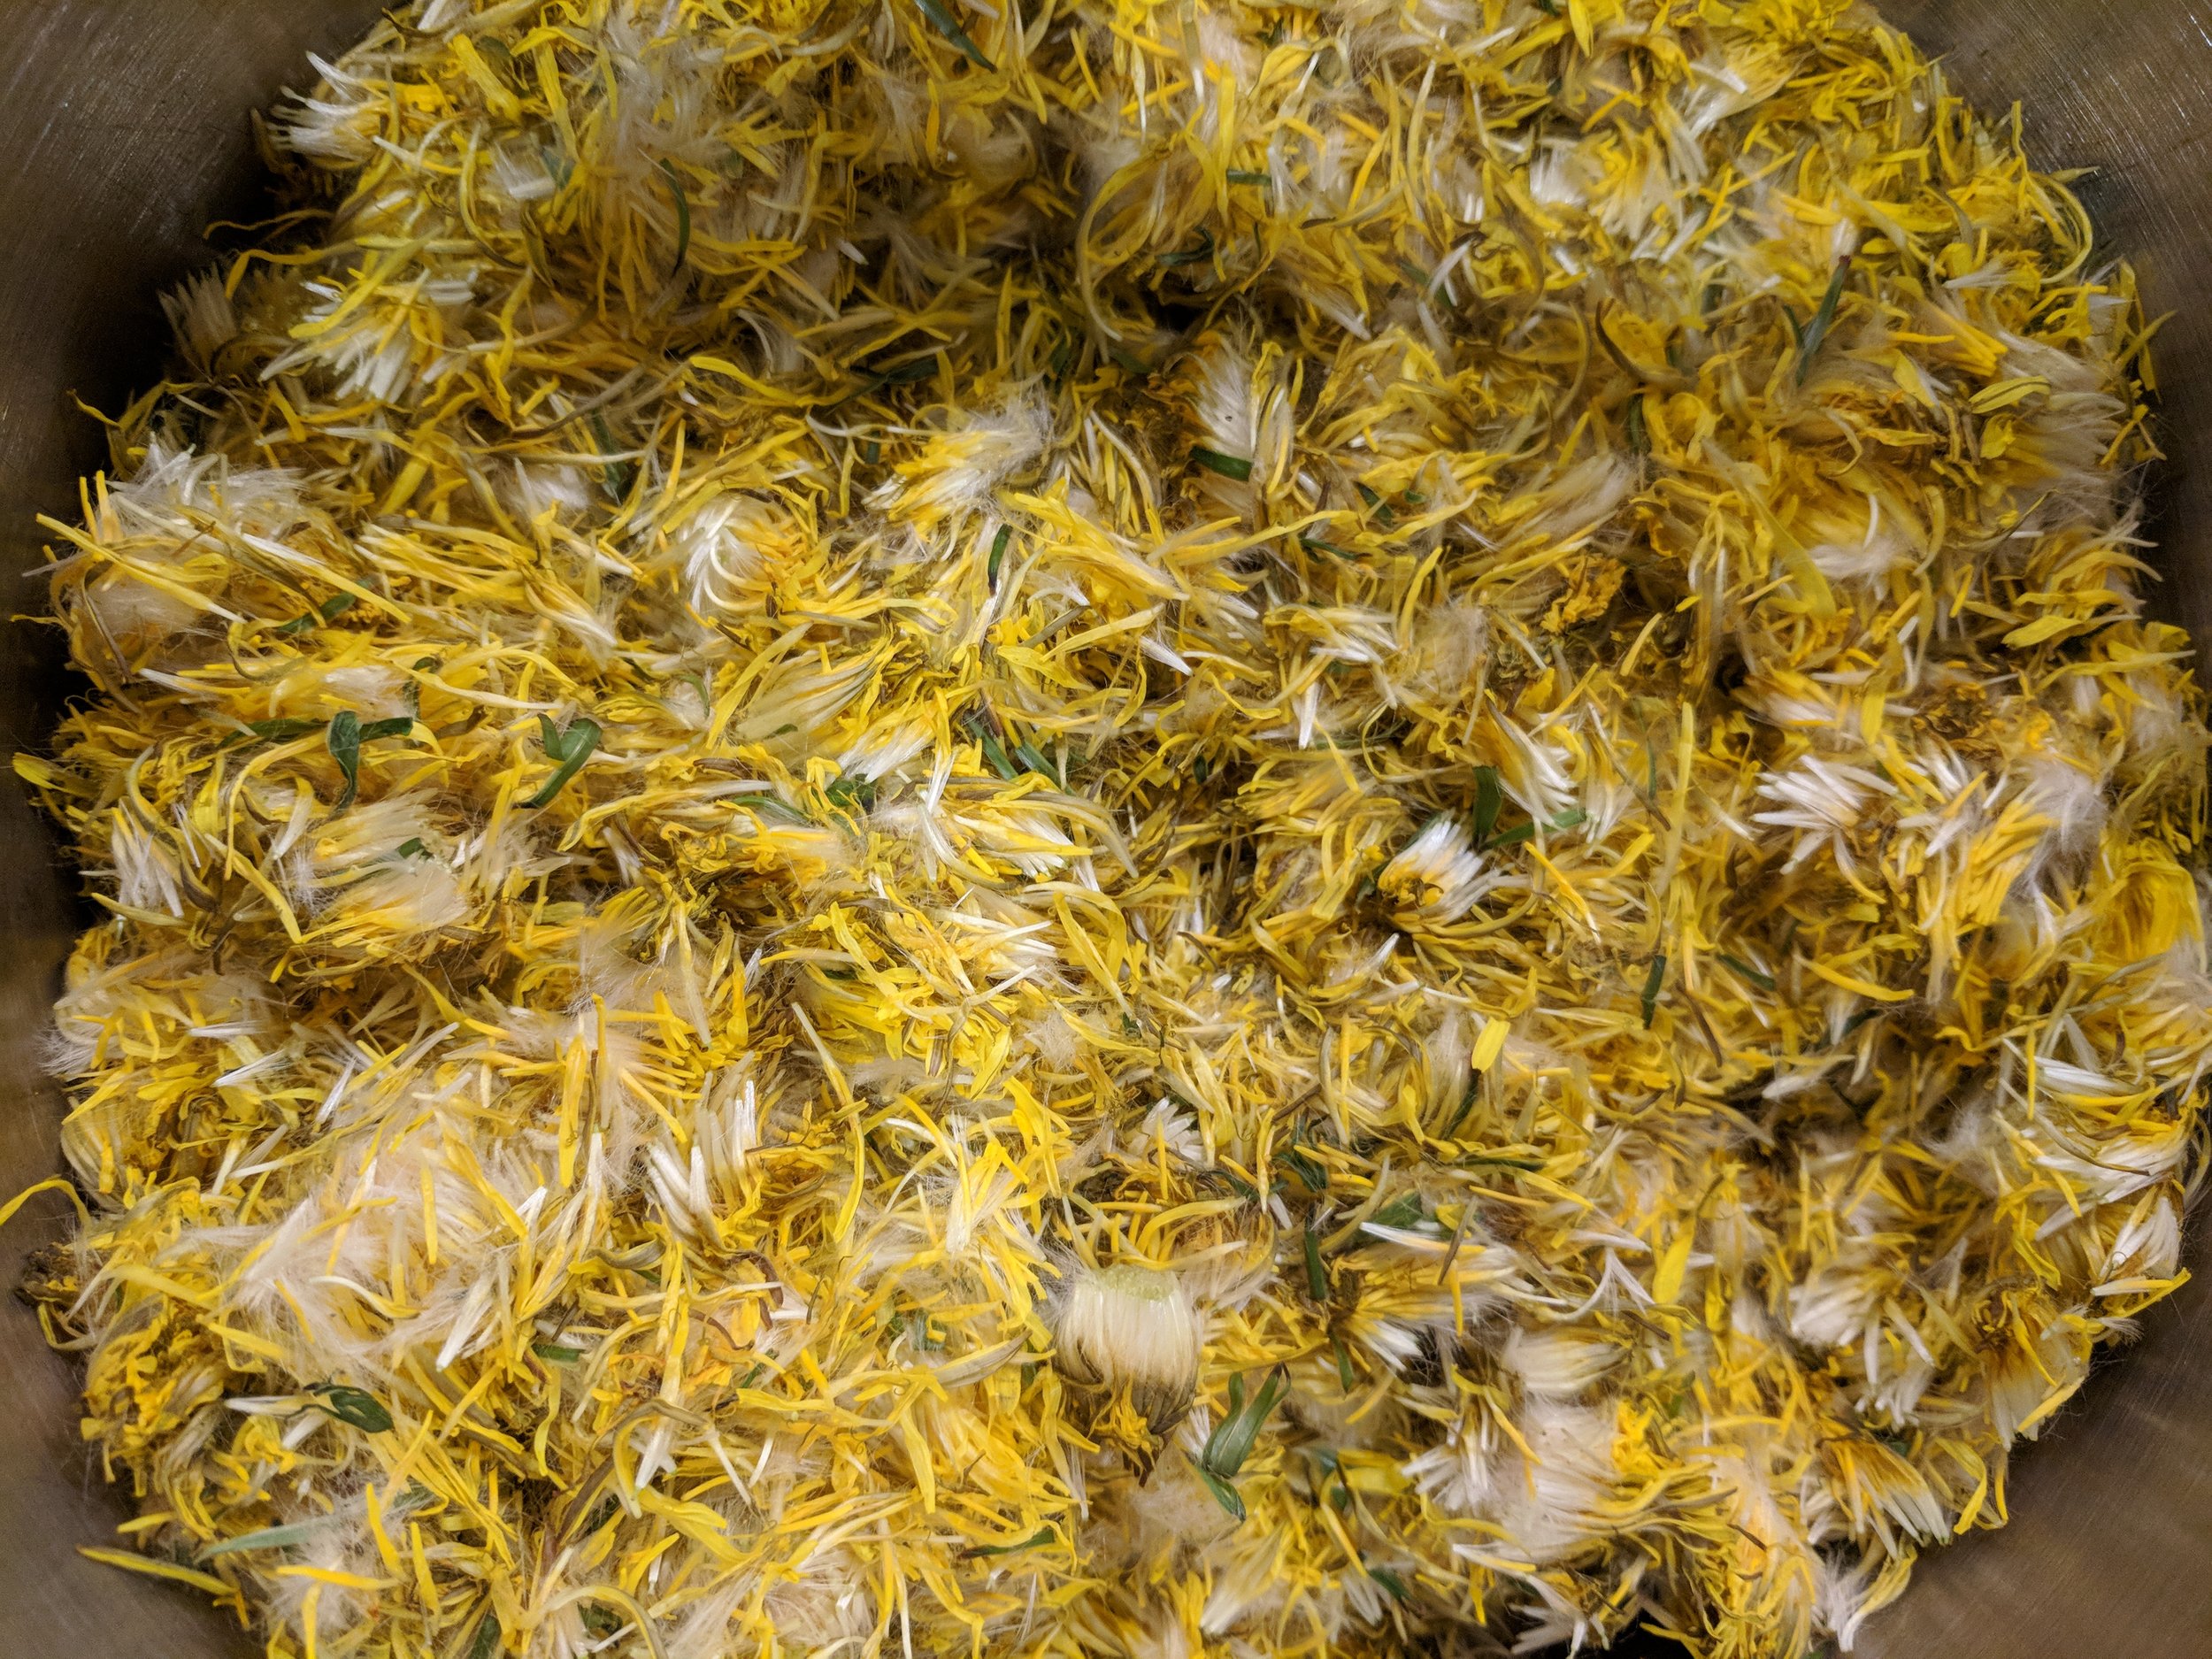
  1. Snip the blossoms off your dandelions, ensuring that you are removing almost all of the green bits. Apparently the green makes it bitter. This step took a long time. I sat on the deck and listened to podcasts and drank chilled bevvies. Can't complain. You want 4 cups of just yellow and white fluffy petals. I suspect you can probably be a little less exact on the amount than I was, but you don't want weak tea. 

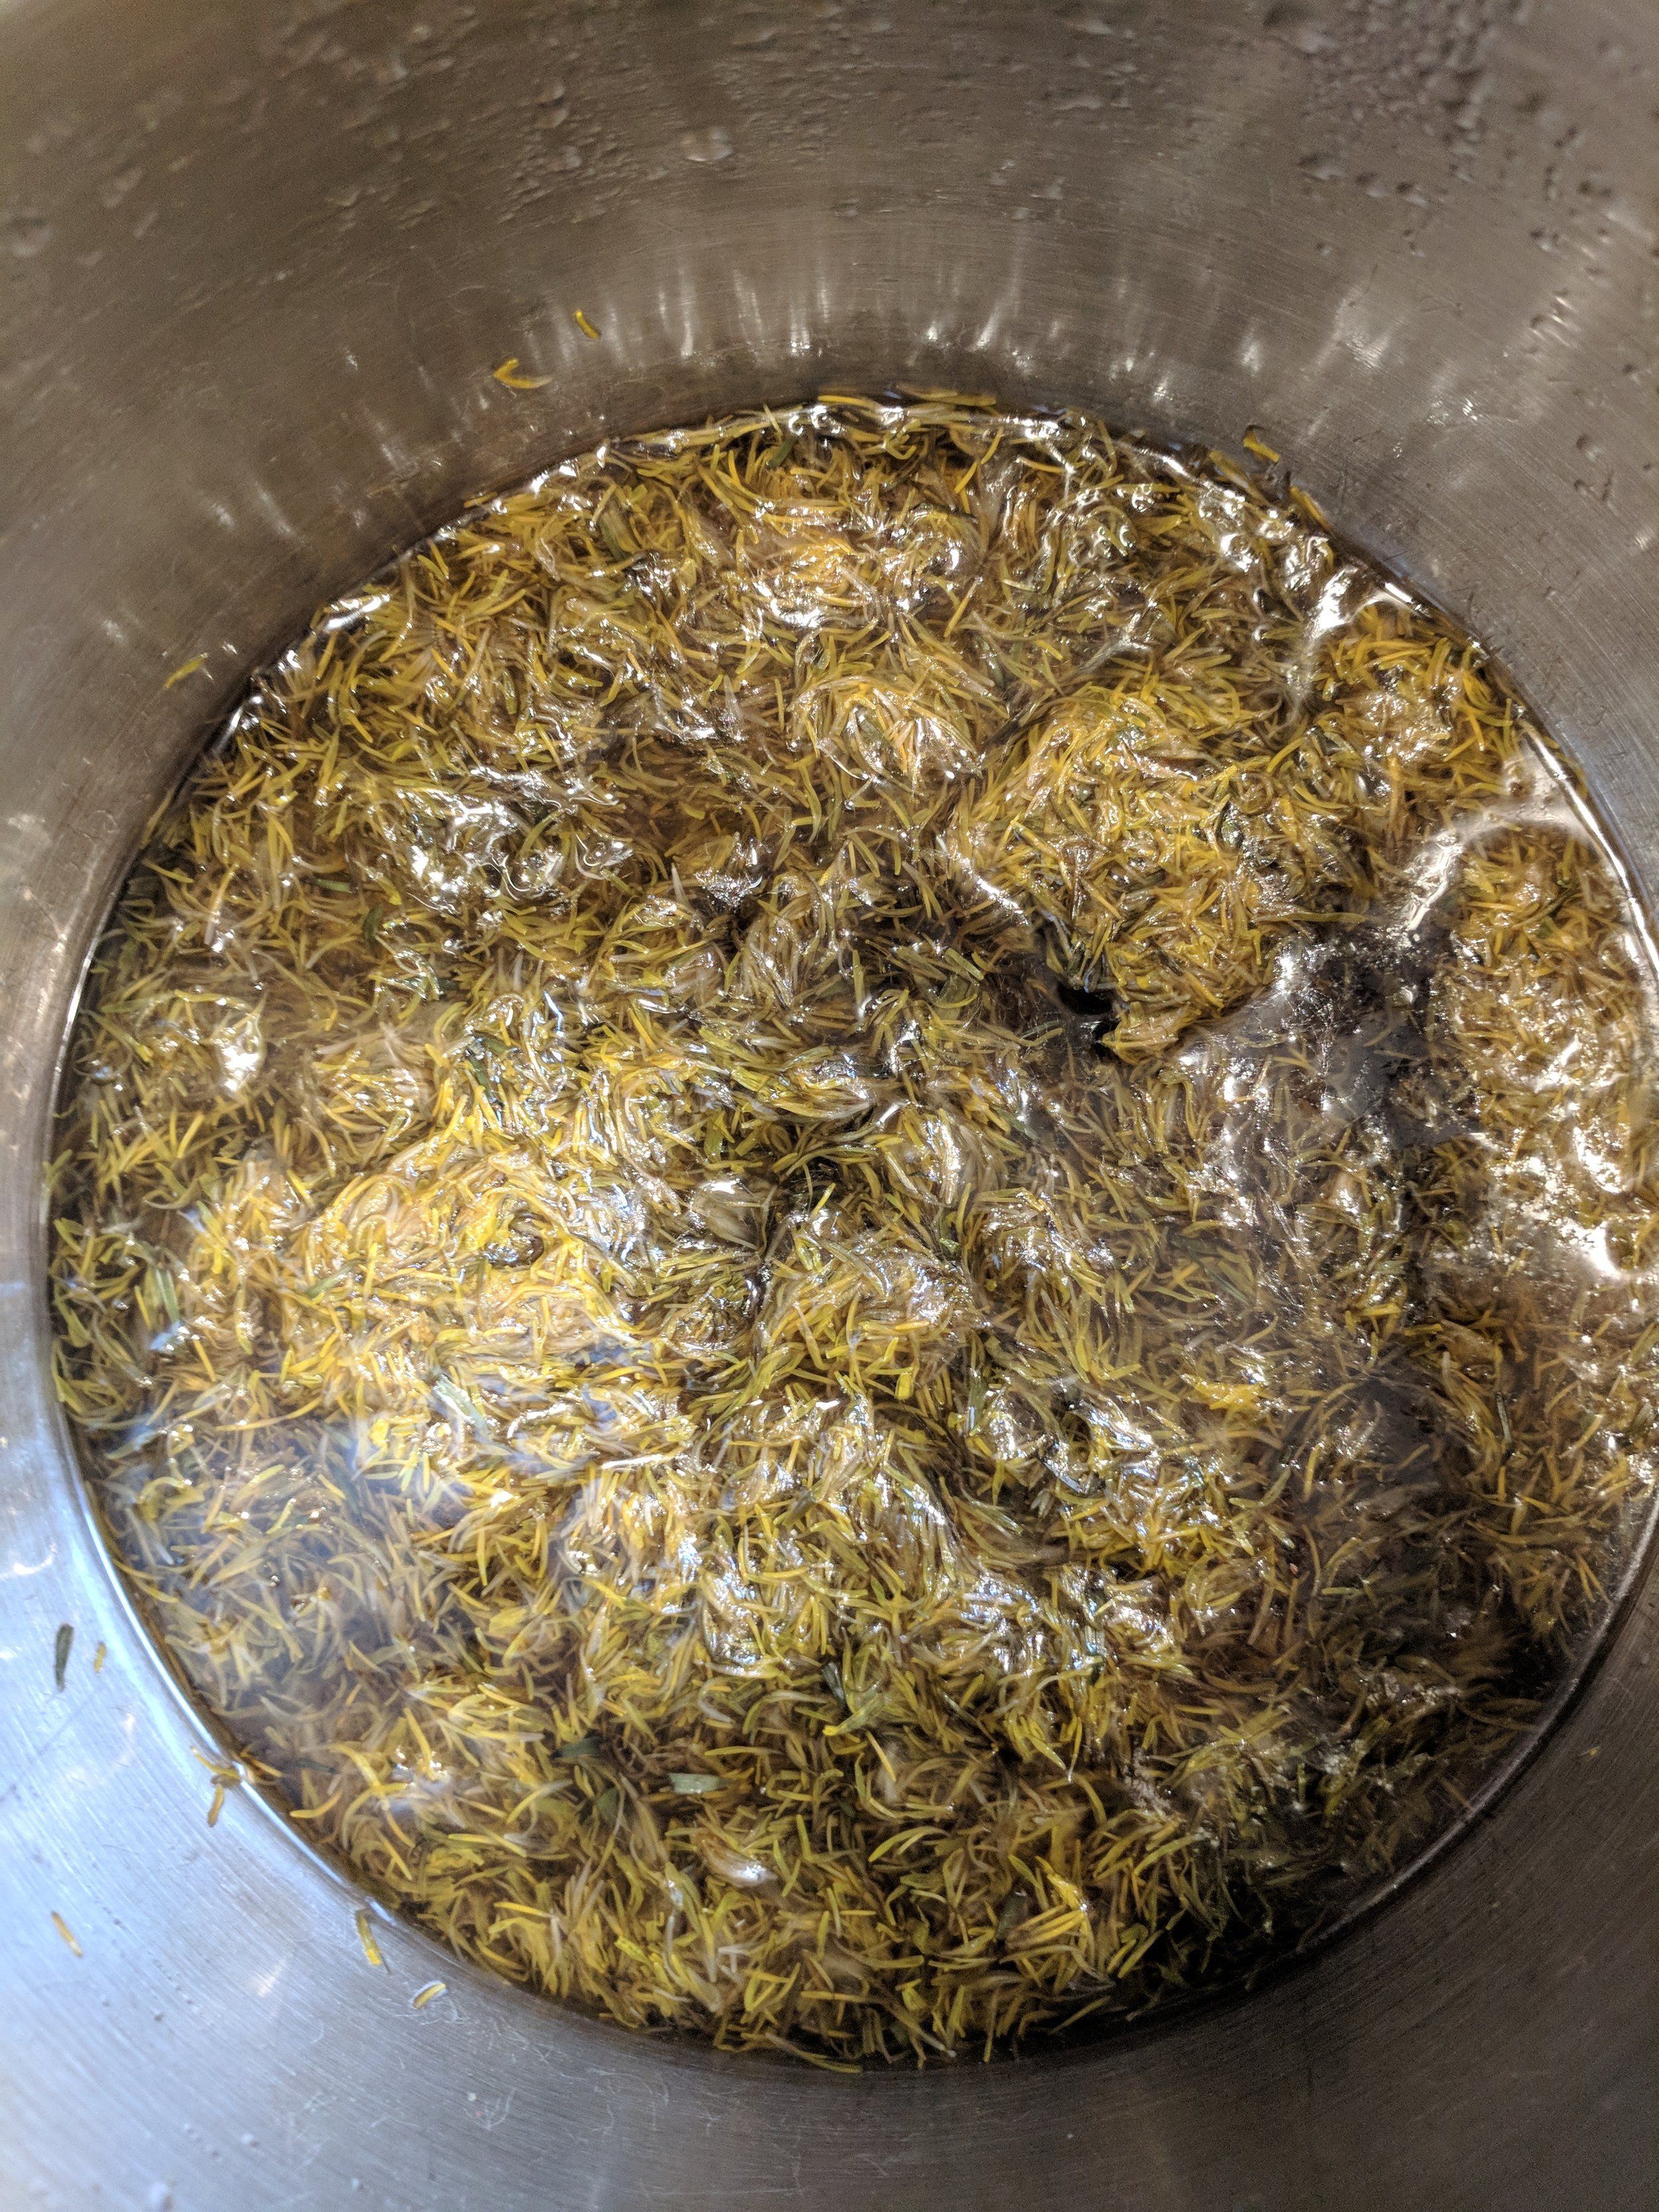
  2. Put your petals in a pot and pour boiling water over them. I think I used exactly 4 cups of water. I would use more next time. 

  3. Let the tea steep at least until it returns to room temperature. I let it sit for 24 hours because that was convenient for me. I'm guessing this is why my jelly is fairly rich in colour. 

  4. Strain your tea well. I used a fine mesh strainer, lined with cheesecloth. 

Directions for canning:

IMG_20180521_182205.jpg
  1. When you are ready to get canning, wash your jars in hot soapy water and rinse well. 

  2. Measure your dandelion tea. If you have 4 cups, huzzah! If you have less, top up with water. If you have more, only use 4 cups. (Maybe you have enough to make another batch? Or if you are concerned your tea looks weak, you could boil it down to 4 cups to make the flavour stronger.) Put your tea along with the 2 Tbsp lemon juice in a large pot. 

  3. Combine pectin with a small amount of your sugar in a bowl. Mix it up, then stir it into your pot of dandelion tea and lemon juice. Bring to a boil.

  4. Gradually stir in the remainder of your sugar. Bring back to a boil, while stirring.

  5. Lower heat and continue to stir frequently, skimming any foam that develops, for about 5 minutes. 

  6. Quickly ladle jelly into your jars using a wide mouth funnel. Leave approx 1 cm headspace.

  7. "Bubble" each jar with a skewer or chopstick to release any trapped air. Wipe each rim with a clean paper towel dipped in vinegar or lemon juice. Place the snap lid down and screw the ring on finger tip tight. 

  8. Put the jars into your water bath canner. Make sure there is at least an inch of water above the top of your jars. Put the pot lid on and return to the boil for 10 minutes. Don't start your timer until the water is boiling. 

  9. Remove jars from the canner or let them sit in the canner until everything calms down. 

IMG_20180521_191000.jpg
IMG_20180521_190954.jpg
IMG_20180521_191422.jpg
IMG_20180523_080533.jpg
In Jelly
Comment

Wine jelly

May 6, 2017 Frances Ranger

Another wonderful off-season recipe. From the recipes I looked at, you can pretty much use any wine. I imagine the better the wine, the better the results. I used an inexpensive Rioja because A/ it's what I had on hand and B/ it's an easy-drinker, so I figured there was no way it wouldn't be delicious. It absolutely is, and it's gorgeous. 

You'll need:

  • 750 ml bottle of wine 

  • 3 1/4 cups white sugar 

  • 3 T lemon juice

  • 1 pkg (57 g box) pectin

  • 4 half-pint (250 ml) Mason jars or 8 125 ml jars, or whatever combo works for you

  • Equivalent number of snap lids and rings

Directions for cooking and canning:

  1. Wash your Mason jars in hot soapy water. Rinse well.

  2. Fill your canning pot halfway-ish with water and put it on to heat. Put your jars in there to get all sterilized and hygienic while you do the rest. (Don't skip this step with this recipe because your jelly won't be in the boiling water bath long enough to compensate.)

  3. Put 1/3 cup of water in a small pot. Eyeball it to see about how much 1/3 cup of liquid looks like in this pot. Okay, you're done with this water. You can use it to water a plant, maybe?

  4. Put 1 1/4 cup of the wine into this same small pot and boil it down over med-high heat until it's about a 1/3 of a cup. No measuring required. Set it aside.

  5. Combine your packet of pectin with 1/4 cup of the sugar in a small bowl and mix it together well.

  6. Bring remaining wine, lemon juice and sugar/pectin mix to a boil in a large pot, stirring frequently.

  7. Add remaining sugar and reduced wine, and bring back to a hard boil, stirring constantly, for one minute. Remove from heat.

  8. This is a good time to fish your jars out of your water bath and set them up to fill. Put the snap lids in the hot water to soften. It doesn't have to be boiling.

  9. Continue to stir frequently, skimming foam, for about 5 minutes. Do not discard the foam. It is delish. 

  10. Quickly ladle hot jam into hot jars, using a wide mouth funnel. Leave 0.5 cm headspace.

  11. "Bubble" each jar with a skewer or chopstick to release any trapped air. Wipe each rim with a clean paper towel dipped in vinegar. Place the snap lid down and screw the ring on finger tip tight. 

  12. Put the jars into your water bath canner. Make sure there is at least an inch of water above the top of your jars. Put the pot lid on and return to the boil for 5 minutes. Don't start your timer until the water is boiling. 

  13. Remove jars from the canner or let them sit in the canner until everything calms down. Ta da!

In Jelly
Comment

Jalapeno Jammy Jelly

October 12, 2016 Frances Ranger

First, I'll tell you what you should do, and what I have done many times in the past, to create a beautiful, tasty jalapeno jam. Then, I'll tell you what I did do this time around as a what not to do. Servicey!

The Right Way

With thanks to My Kitchen Addiction for the fabulous recipe that I started with.

You'll need:

  • 4 cups of seeded and finely diced peppers (whatever ya got, long as they're hot but not, you know, too hot – and you'll want a mix of red and green for the pretty; say about 10 green jalapeños, 2 red peppers, 4 smaller, hotter red peppers)

  • 1 cup apple cider vinegar

  • 1 package of low-sugar powdered pectin*

  • 2–3 cups granulated sugar 

  • 6 1/2 pint (250 ml) jars

  • 6 snap lids and rings

*You can substitute regular pectin and use about 5 cups of sugar. That would be delish. I would definitely steer away from the no-sugar pectin for this recipe though. I tried it once and it had sort of a chemically taste to me. 

Directions for cooking and canning:

  1. Wash your Mason jars in hot soapy water. Rinse well.

  2. Combine your diced peppers and vinegar in your cooking pot. As it heats, add the pectin and stir it in well until dissolved. 

  3. Over high heat, bring mixture to a full rolling boil. Add the sugar. 

  4. Stirring constantly, return mixture to full rolling boil that doesn't calm down even when you stir it.

  5. Boil hard 1 minute, stirring constantly.

  6. Quickly ladle hot jam into jars, using a wide mouth funnel. Leave 0.5 cm headspace. Important: make sure your jars aren't cold or they might react quite dramatically to hot jam. I find this is not a problem in a hot summer kitchen, but you may be a fan of frigid air conditioning, in which case you might want to heat your jars in the oven or water bath before filling.

  7. "Bubble" each jar with a skewer or chopstick to release any trapped air. Wipe each rim with a clean damp paper towel. Place the snap lid down and screw the ring on finger tip tight. 

  8. Put the jars into your water bath canner. Make sure there is at least an inch of water above the top of your jars. Put the pot lid on and return to the boil for 15 minutes. Don't start your timer until the water is boiling. 

  9. Remove jars from the canner (or let them sit in the canner until everything calms down).

Enjoy! This spread is fabulous on brie and crackers. It's one of my go-to's whenever I'm looking for a snack or hors d'oeuvres that feel a little special for guests. I also gave a jar as a thank-you gift to a friend, who said he enjoyed it served on vanilla ice cream! You do you. It's fail-safe.

The not-as-right way to make jalapeno jelly

And now for a version that is not as good, but I tried it so I want to share. I won't be making it this way again. Live and learn. 

You'll need:

  • 12 medium (about 3/4 lb) jalapeno peppers or other peppers (again, follow your bliss), stems and seeds removed   

  • 6 cups sugar

  • 2 cups white or cider vinegar

  • 2 packets (1 box) liquid pectin

  • 5 1/2 pint (250 ml) jars

  • 5 snap lids and rings

Directions for cooking and canning:

  1. Wash your Mason jars in hot soapy water. Rinse well.

  2. Heat 1 cup vinegar in pot with peppers. Boil for a couple of minutes. I'm not sure why I felt like this was a good idea. I think I was thinking it would soften the peppers and make them easier to puree. Or maybe I was planning to strain the liquid and thought this would give more flavour?

  3. Puree peppers and vinegar. If you've cooked them first, you are now dealing with a hot mixture in your food processor. This wasn't my best idea. Also, the mixture just wouldn't fully puree, so I really just ended up with finely minced peppers in vinegar.

  4. Put mixture back in pot. Add remaining cup of vinegar and sugar. Bring to a boil and boil for 10 minutes.

  5. Add liquid pectin and boil for 1 minute.

  6.  Heat snap lids in a small pot of water. 

  7. Quickly ladle hot jam into jars, using a wide mouth funnel. Leave 0.5 cm headspace.

  8. "Bubble" each jar with a skewer or chopstick to release any trapped air. Wipe each rim with a clean damp paper towel. Place the snap lid down and screw the ring on finger tip tight. 

  9. Put the jars into your water bath canner. Make sure there is at least an inch of water above the top of your jars. Put the pot lid on and return to the boil for 10 minutes. Don't start your timer until the water is boiling. 

  10. Remove jars from the canner (or let them sit in the canner until everything calms down).

Here's this rather muddy looking jam. I gotta take a pic of jam made with the other recipe. It's lighter and more golden in colour with gorgeous green and red flecks. 

Here's this rather muddy looking jam. I gotta take a pic of jam made with the other recipe. It's lighter and more golden in colour with gorgeous green and red flecks. 

So... this is sort of pretty much like the directions that came with the pectin, except for the extra boiling at the beginning. It's really not your best way to go. It didn't set perfectly; it's a little runny. Plus, it's a little muddier in colour and not as attractive as the recipe above makes. I probably could have improved it by adding food colour, but that's not really my preference. It tastes good. It's just not as good as the my fave version. 

In Jelly
Comment
Featured
PXL_20230422_204437068.jpg
Apr 30, 2023
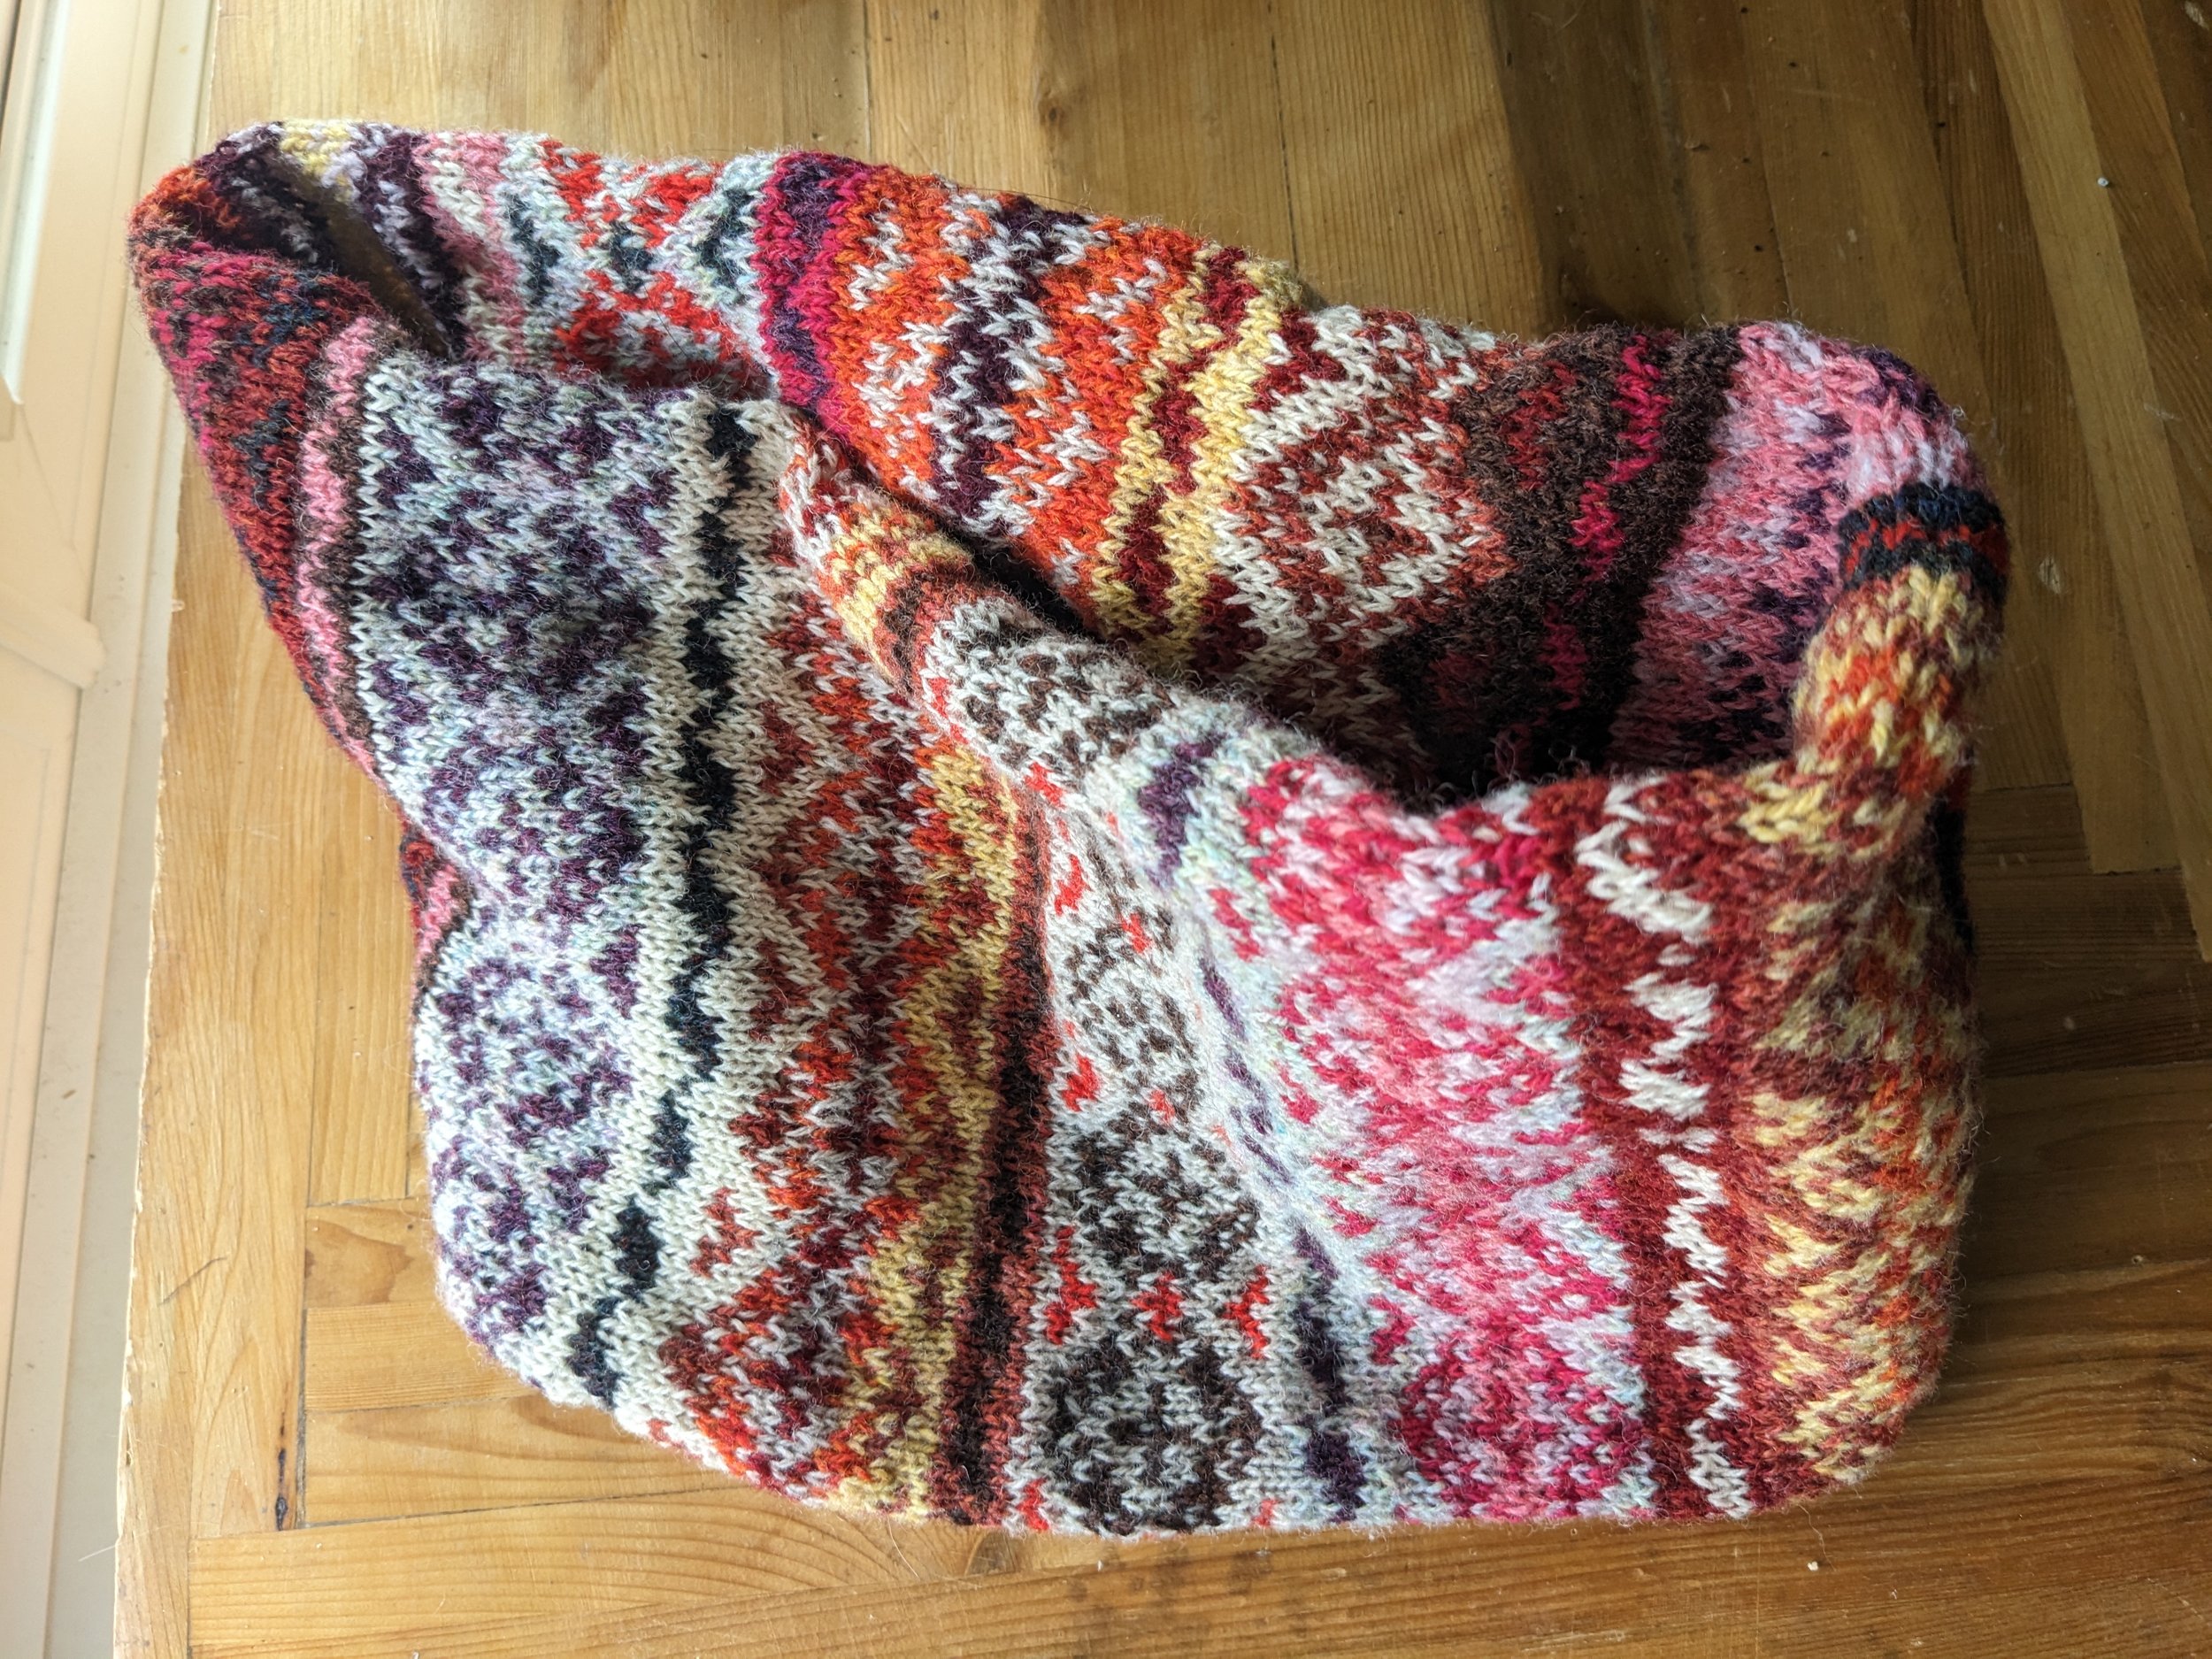
Pic N Mix cowl
Apr 30, 2023
Apr 30, 2023
Riptide 1.jpeg
Mar 26, 2023
Riptide sweater
Mar 26, 2023
Mar 26, 2023
PXL_20221027_144710983.jpg
Mar 11, 2023
More socks for meeee
Mar 11, 2023
Mar 11, 2023
PXL_20220923_201724017.jpg
Mar 11, 2023
Baby socks and stocking cap for a sweet lil elf
Mar 11, 2023
Mar 11, 2023