I’ve never made mustard pickles before of any sort, though I’ve tasted them lots of times. Making them myself just never appealed to me that much. Then I read about these, which are a regional specialty in New Brunswick. My husband, a New Brunswicker himself, had never heard of them either. Maybe they never made it to the mighty Miramichi?
Anyhow, we were both intrigued, so I decided to try a small batch and see if we like them. The verdict - they’re delicious. Like, really, really good. Next year, I’ll fine-slice them, rather than rough chop, so they’ll be perfect for piling on hotdogs and hamburgers.
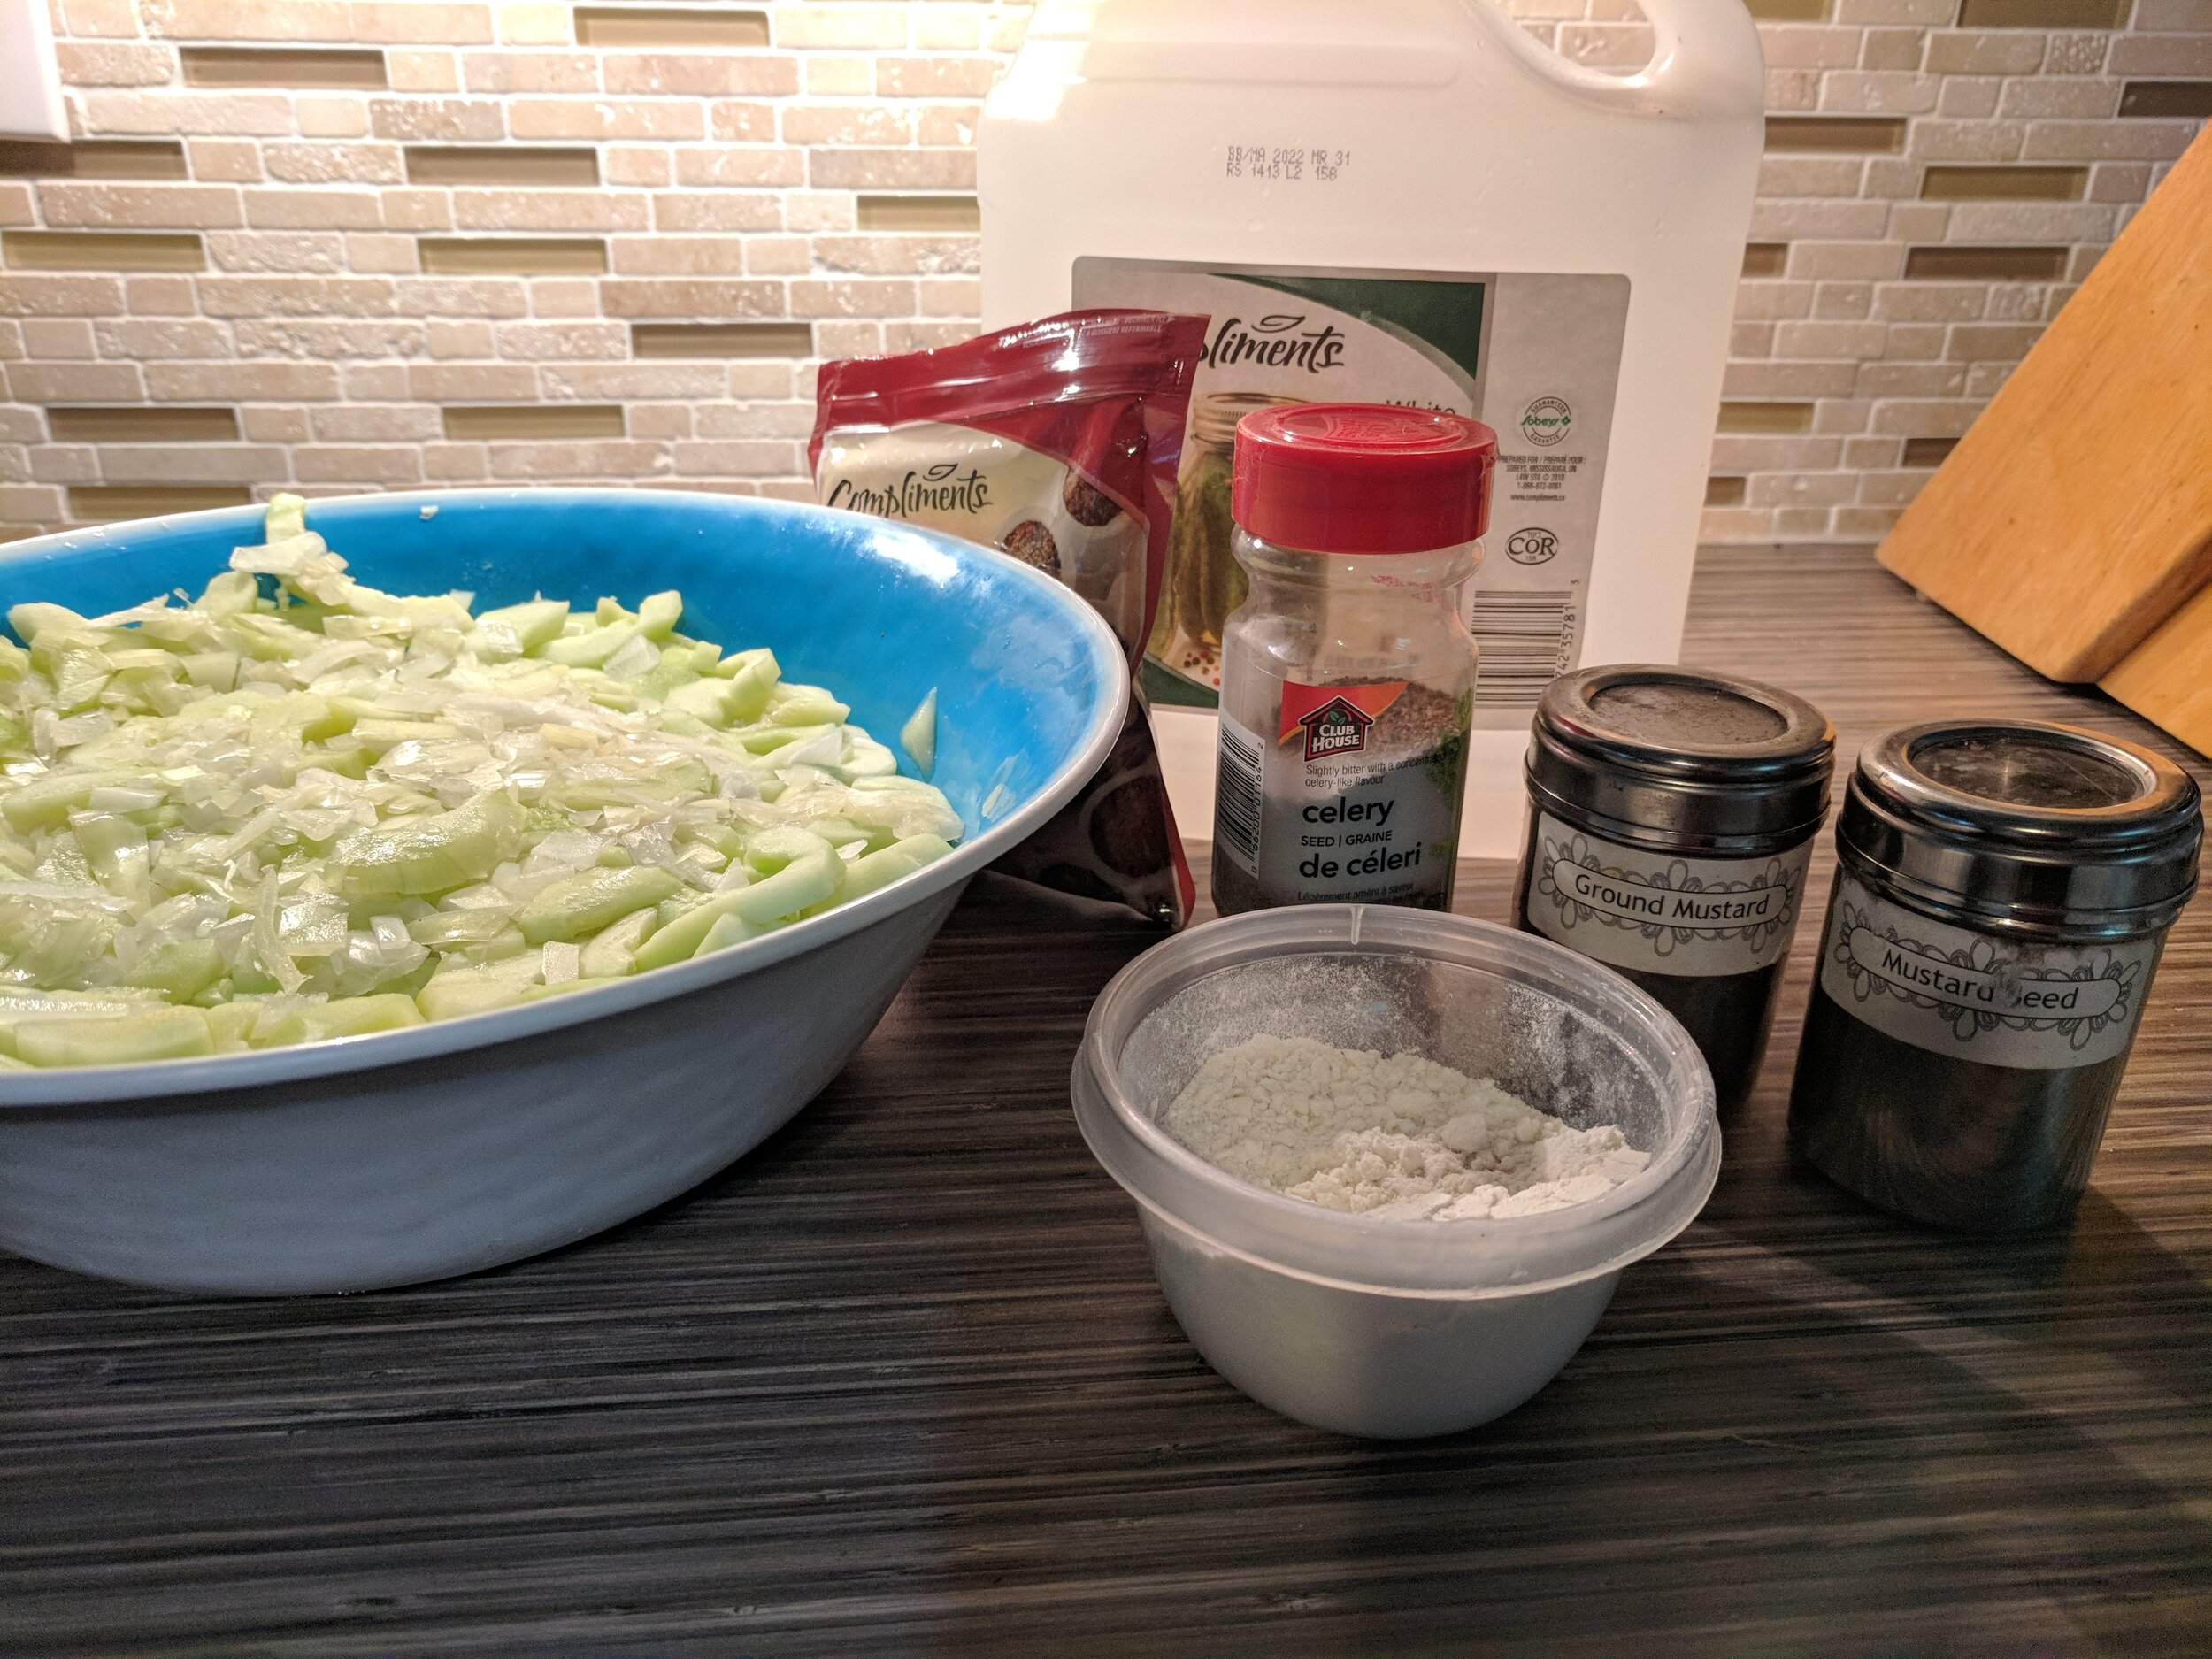
Cucumbers and onions, post being weighted and draining over night.
You’ll need:
7 med–large cucumbers, peeled, seeded, and chopped
4 cups of onions, finely chopped
1/4 cup salt
2 1/2 cups white vinegar
2 cups sugar
3 T flour*
1 tbsp dry mustard
1 tbsp turmeric
1 tsp mustard seed
1 tsp celery seed
4 pint jars
4 snap lids and rings


Instructions for cooking and canning:
Alternate layers of cucumbers and onions in a large dish, sprinkling each layer with salt.
Place heavy plate on top and let sit for several hours or overnight.
Drain liquid from cucumber and onion mixture and rinse off salt.
Mix your dry ingredients together in a bowl.
Put rinsed cucumbers and onions into a large pot, and add vinegar and dry ingredients, stirring well.
At the same time, begin heating your water bath.
Cook pickle mixture over low heat for 45 minutes to one hour while stirring often.
Scoop a small amount of water from the canner into a small pot and put your snap lids in there to heat.
Make sure your sparkling clean mason jars are at least warm. If you are working in a vigorously air conditioned room (not me, I’m melting), you may want to heat them in the oven or give them a dip in the water bath to bring up their temp. Cold jar plus hot pickle is not a good match, I hear.
Quickly ladle the hot pickle mixture into warm jars, using a wide mouth funnel. Leave about an inch of headspace.
"Bubble" each jar with a skewer or chopstick to release any trapped air. Wipe each rim with a clean damp paper towel. Place a heated snap lid down and screw the ring on finger tip tight.
Put the jars into your water bath canner. Make sure there is at least an inch of water above the top of your jars. Put the pot lid on and return to the boil for 10 minutes.
Gorgeous! And tasty right away. I bet they’ll be even better in 6 weeks or so.
*I know! Flour in pickles, is that safe? Apparently, it is indeed in small quantities in mustard pickle recipes. I learned something!

I think a uniform slice will also make them a little less random looking. Way tasty though.