• Index
  • Jars
  • Sticks
  • Pages
  • Thoughts
Menu

My little corner

Ashore
Afloat
ALL COZIED UP

Your Custom Text Here

My little corner

  • Index
  • Jars
  • Sticks
  • Pages
  • Thoughts
jars.jpg

If you love it, put it in a jar.

Do-able, delicious recipes that belong in a jar. Water bath canning, pressure canning, and other edible treasures. 

Coleslaw, canned

August 1, 2022 Frances Ranger

I made a double batch

I was immediately intrigued by this recipe. My family all enjoys coleslaw, and it’s a refreshing, reasonably nutritious cold dish that also appeals to my thrifty side. But what it isn’t is super-quick or convenient except when you make it from a package mix, and even then it’s much tastier when you have time to let it sit. The idea of a shelf-stable, ready whenever option is certainly appealing.

I tried to cut down the sugar, but when Dave tasted the brine, his face practically turned inside out his lips puckered so hard. This recipe is where I ended up. You might want to add a little more sweetness or you might be okay with less. And with subjective sizing like medium and large, no doubt your proportions will end up a little different every time. Let me know what works for you.

You’ll need:

For the slaw

  • 1 medium head cabbage

  • 1 large carrot

  • 1 bell pepper (I used red cause that’s what I had)

  • 1 small onion

  • 1 tsp. salt

  • 4 pint size mason jars, lids, and rings

For the dressing

  • 1 cup cider vinegar

  • ¼ cup water

  • 1.5 cups sugar

  • 1 tsp celery seeds

  • 1 tsp mustard seeds

Directions:

  1. Shred and combine vegetables. I used our food processor (first time for me), and it worked like magic. If you are doing it by hand, a larger shred would be fine.

  2. Add the salt and toss well. Let stand for at least 1 hour.

  3. Bring dressing ingredients to a boil and boil, stirring, for 1 minute. Remove from heat and let stand to cool room temperature. (I’d suggest doubling the dressing recipe to make sure you have enough. You can save what you don’t use [see note], but it’s a pain if you find yourself needing more mid-way through the process!)

  4. Drain liquid from vegetables. Rinse thoroughly and drain well again. If you like it salty, you could stop there. For me, I rinsed and drained three times.

  5. Add vegetables to cooled dressing; mix well.

  6. Spoon into pint jars, lightly packing.

  7. "Bubble" each jar with a skewer or chopstick to release any trapped air, adding more dressing as needed to cover the slaw, leaving 1/2 inch headspace. Wipe each rim with a clean paper towel dipped in vinegar. Place the snap lid down and screw the ring on fingertip tight.

  8. Put the jars into your water bath canner. Make sure there is at least an inch of water above the top of your jars. Put the canner lid on and return to the boil for 15 minutes. Don't start your timer until the water is boiling.

  9. Remove jars from the canner or let them sit in the canner until everything calms down.

  10. Make sure all the jars are sealed before you put them away. Any that still haven’t sealed within 24 hours go in the fridge.

  11. Wait at least a week to let the flavours all mellow together before enjoying. Eat at room temperature or chilled, as is or drained with added mayonnaise.

You can double or triple this recipe to your heart’s content. When you make extra dressing and you’re not sure if you need all of it, keep some of it aside and just use if necessary, storing the remainder in the fridge. If you mix all the dressing in with the vegetables, you’ll have to put any extra in a mason jar and water bath process it to preserve it.

In Vegetables Tags salad, side dish
Comment

Simple stewed tomatoes

October 30, 2016 Frances Ranger

I'm a little late with this post. It's been about a month since I made these, and it was getting to the tail end of tomato season then. It's been busy!

You'll need:

  • Roma tomatoes, a 1/2 bushel or so (or however many you have of whatever kind of tomato)

  • Quart (1 L)  or Pint (500 ml) Mason jars

  • An equivalent number of snap lids and rings

And per jar:

  • 1/2 t citric acid per quart or 1/4 t per pint

Directions for canning:

  1. Wash your jars in hot soapy water and rinse well. 

  2. Put a good-size pot of water on to boil. Put ice and/or very cold water in a large bowl or your clean sink. Our new fridge has an ice maker. I had no idea how much I would love this feature for canning.  

  3. Rinse your tomatoes well and rub off any bits of field dirt. 

  4. Take a sharp paring knife and cut an X into each tomato.

  5. Working with about a half-dozen tomatoes at a time, put them in the boiling water for about a minute, then remove them to the ice bath. 

  6. Once they've cooled, their skins will slip off quite easily, especially if you've given them a starting place with that X.

  7. Core each tomato and slice or rough chop. Put tomatoes into a large, heavy-bottomed pot and heat on medium. Let the tomatoes simmer happily while continuing to peel, core, and chop the rest.

  8. Once the tomatoes are all in the pot and lovely and soft and juicy, squish them up with a potato masher. Cook until you like how they look. Add a sprinkle of salt if you wish, or not. 

  9. Prepare your jars with citric acid. 

  10. Heat water in a small pot and put your snap lids in there. They don't have to come to a boil. It's just to soften them a smidge to help them seal. 

  11. Ladle your tomatoes into jars, leaving about 1/2 inch head space. 

  12. As usual, "bubble" each jar with a skewer or chopstick to release any trapped air. Wipe each rim with a clean damp paper towel. Place a heated snap lid down and screw the ring on finger tip tight.

  13. Put the filled jars into your water bath canner. Make sure there is at least an inch of water above the top of your jars. Don't start your timer until the water is boiling. Put the pot lid on and boil quarts for 45 minutes, pints for 35 minutes. If you're mixing jar sizes in the same load, be sure to process to the longest requirement. 

  14. Remove jars from the canner.

  15. Repeat the process with the next batch. So simple and gorgeous and just waiting for your favourite chili, pasta, or soup recipe.

In Vegetables
Comment

No pressure pressure-canned green beans

September 20, 2016 Frances Ranger
Please enjoy the fine staging of this glamour shot. 

Please enjoy the fine staging of this glamour shot. 

You’ll need:

  • Green beans

  • Quart jars

  • Lids and sealing rings

I love the ease of canned green beans in the winter. Even faster than frozen (plus they save room in the freezer) and waaay better than long-travelled grocery store "fresh" green beans in January. It probably would have been better to do this back in July with early green beans, but hey, it's September and better late than never.  I did try one of the beans before I bought (I checked with the market vendor first; I'm not a bean-sneak-thief!), and it was fresh, crisp and tasty. Good stuff. 

 Directions for canning:

  1. Trim both ends of the green beans.

  2. Follow your pressure canner's instructions to double check that your pressure canner is ready to go.  

  3. Wash your jars in hot soapy water and rinse well.

  4. Heat snap lids in a small pot of water to soften them.

  5. Stuff the beans in the jars, leaving one inch of head space. I don't know an elegant way to do this. 

  6. Boil water and add to each jar, ensuring the head space remains.

  7. "Bubble" each jar with a skewer or chopstick to release any trapped air. Wipe each rim with a clean damp paper towel. Place a heated snap lid down and screw the ring on finger tip tight. 

  8. Add hot water to your pressure canner.  Mine requires 3 quarts; check your instructions to be sure for yours. Load up the canner and close it, following manufacturer instructions. 

  9. At sea level, which I basically am, quarts of green beans take 25 minutes at 11 pounds pressure. 

... And done! 


In Vegetables
Comment

Whole pressure-canned roma tomatoes

September 5, 2016 Frances Ranger

You'll need:

  • Farm-fresh Roma tomatoes, a bushel or so

  • 14 quart (1 L)  Mason jars (if nobody eats any tomatoes before you start canning, you might need 15)

  • 14 (or 15) snap lids and rings

And per jar:

  • Sprinkle of kosher salt (optional)

  • 1/2 t citric acid or 2 T bottled lemon juice  

Having a home near Leamington, Ontario is absolutely GLORIOUS in tomato season. Tomato fields start glowing red as the crop ripens. And there are so many farm stands, like real actual farm stands. (The St. Jacobs Farmers Market has taught me to always ask where the produce I'm buying comes from. The year-round stalls selling berries super cheaply, for example, aren't likely to be local berries, even if you're buying at the height of the local berry season. I love the St. Jacobs Farmers Market, and there are a lot of actual farmers there. But you gotta ask. Anyway...) 

So when I bought these tomatoes, I asked the elderly Italian-accented lady where they came from. She gestured toward the house, and said,  "the field outbacka the building!" Sure enough, just beyond lay acres of glowing red tomatoes. That's local!  

Directions for canning:

  1. Make sure you have plenty of ice or very cold water. Follow your pressure canner's instructions to double check that your pressure canner is ready to go.  

  2. Wash your jars in hot soapy water and rinse well. I didn't bother to pre-sterilize them because pressure canning will take care of that.

  3. Rinse your tomatoes well and rub off any bits of field dirt. These were pretty pristine, but if there's been a recent rain they might be a bit muddy. 

  4. Take a sharp paring knife and cut an X into each tomato. (Not super necessary, but helpful.)

  5. Put a good-size pot of water on to boil. Put ice and/or very cold water in a large bowl or your clean sink.

  6. Working with about a half-dozen tomatoes at a time, put them in the boiling water for about a minute, then remove them to the ice bath. 

7. Once they've cooled, their skins will slip off quite easily, especially if you've given them a starting place with that X.
8. Core each tomato and put it into another bowl. Try not to be too rough at this point because you don't want to squeeze too much of the juice out. 
9. Prepare your jars with either citric acid or lemon juice. I do 7 jars at a time because that's how many quarts my canner will hold. My first batch used citric acid. My second used lemon juice because I ran out of citric acid. 
10. Heat water in a small pot and put your snap lids in there. They don't have to come to a boil. It's just to soften them a smidge to help them seal. 

11. Once you have a big bowl of prepared tomatoes, start packing your jars. Basically you're just squashing tomatoes by the handful into the jar. Pack as many as you can in (squish them down to release the juice), leaving about 1/2 inch head space. 
12. "Bubble" each jar with a skewer or chopstick to release any trapped air. Wipe each rim with a clean damp paper towel. Place a heated snap lid down and screw the ring on finger tip tight. 
13. Add hot water to your pressure canner.  Mine requires 3 quarts; check your instructions to be sure for yours.
14. Load up the canner and close it, following manufacturer instructions. (As many times as I've used my pressure canner, I also reread the instructions. I don't know. The whole possibility of explosion thing makes me nervous, I guess. But I do love it.)
15. At sea level, which I basically am, tomatoes take 25 minutes at 10 pounds pressure. While your first batch is on and then cooling, you might as well get the second batch ready. 

So worth it! You can totally do tomatoes safely and effectively by water bath canning as well. Follow all the directions the same, up to step 12. Just boil the cans in the water bath for 85 minutes. I opted for pressure canning this time around because we have no air conditioning so the less boiling, the better. 

In Vegetables Tags pressure canning, tomatoes
1 Comment
Featured
PXL_20230422_204437068.jpg
Apr 30, 2023
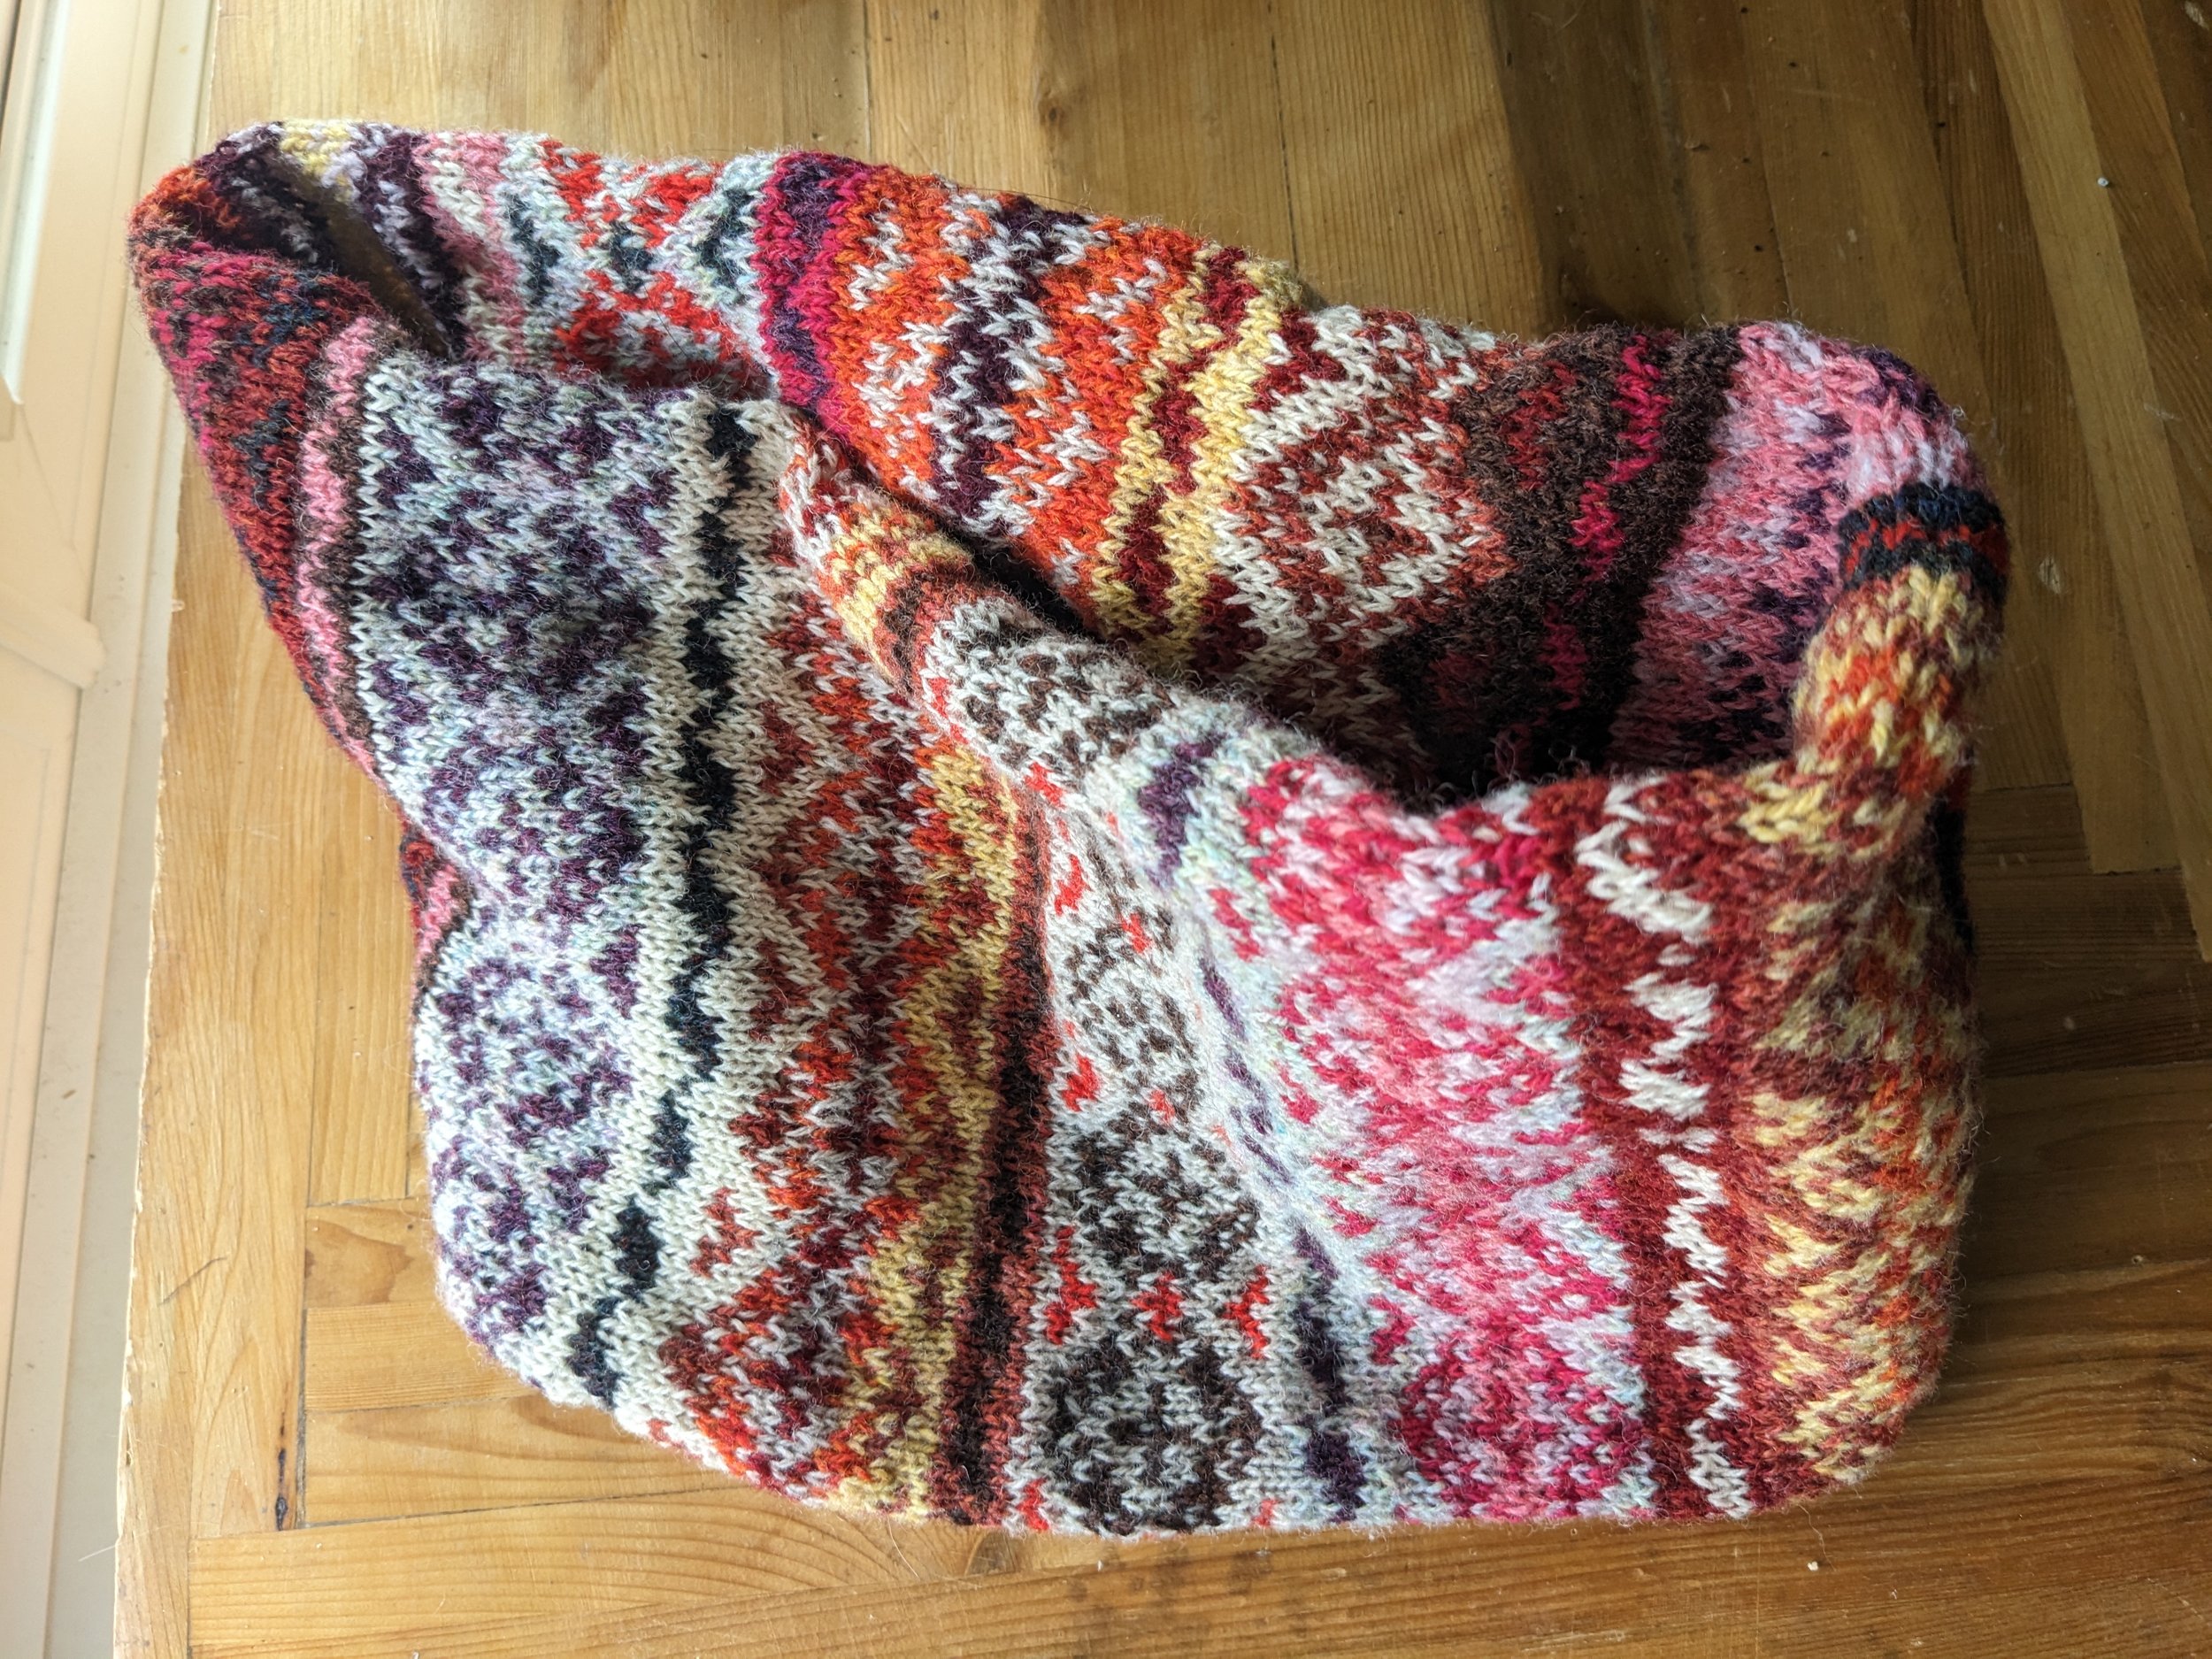
Pic N Mix cowl
Apr 30, 2023
Apr 30, 2023
Riptide 1.jpeg
Mar 26, 2023
Riptide sweater
Mar 26, 2023
Mar 26, 2023
PXL_20221027_144710983.jpg
Mar 11, 2023
More socks for meeee
Mar 11, 2023
Mar 11, 2023
PXL_20220923_201724017.jpg
Mar 11, 2023
Baby socks and stocking cap for a sweet lil elf
Mar 11, 2023
Mar 11, 2023