• Index
  • Jars
  • Sticks
  • Pages
  • Thoughts
Menu

My little corner

Ashore
Afloat
ALL COZIED UP

Your Custom Text Here

My little corner

  • Index
  • Jars
  • Sticks
  • Pages
  • Thoughts
jars.jpg

If you love it, put it in a jar.

Do-able, delicious recipes that belong in a jar. Water bath canning, pressure canning, and other edible treasures. 

Homemade tomato ketchup

September 5, 2022 Frances Ranger
8 stacked small round jars of homemade tomato ketchup

Busy week! Amid making a fresh supply of classic dill pickles, spicy tomato soup, and fan-favourite Lady Ashburn pickles on my vacation week, I wanted to try something new. And since I had a pile of tomatoes available to use, that something new would involve tomatoes. One of the kids suggested ketchup, so I went on the hunt for recipes.

The recipe below is based on that in the Bernardin Complete Book of Food Preserving (an excellent resource), with a couple of tweaks in terms of spices because of what I had on hand. Turned out so good!!

You’ll need: 

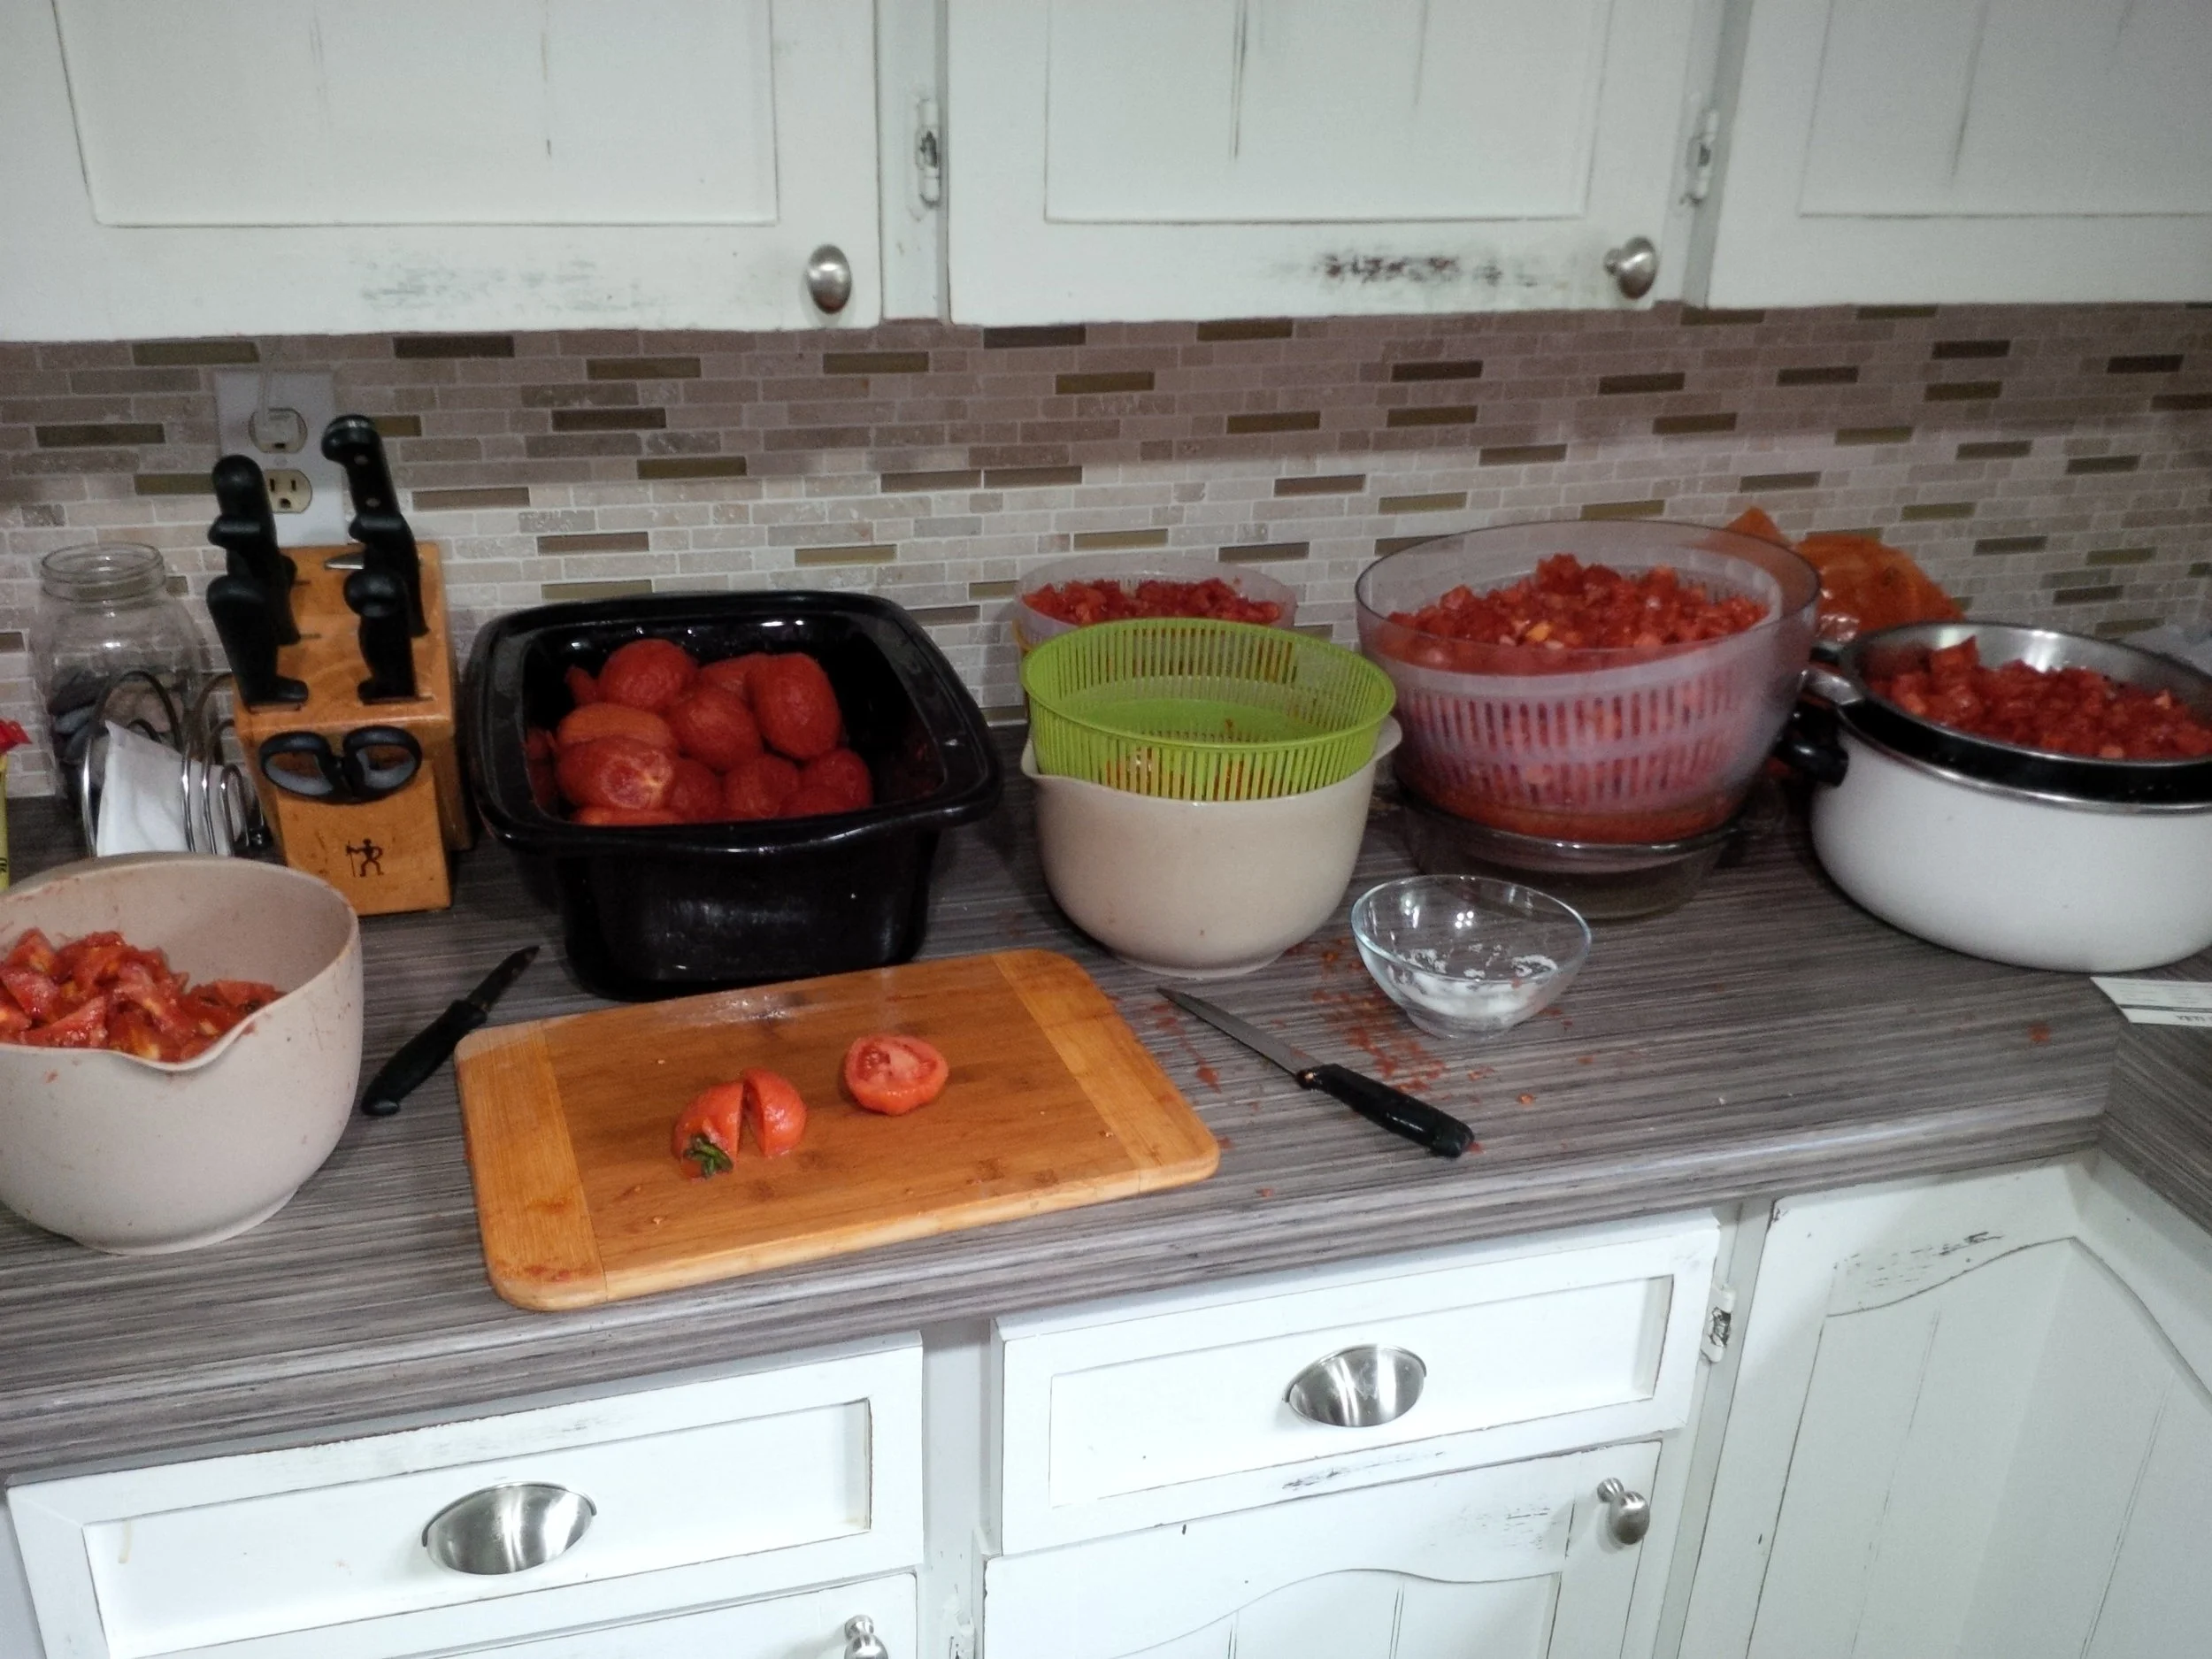
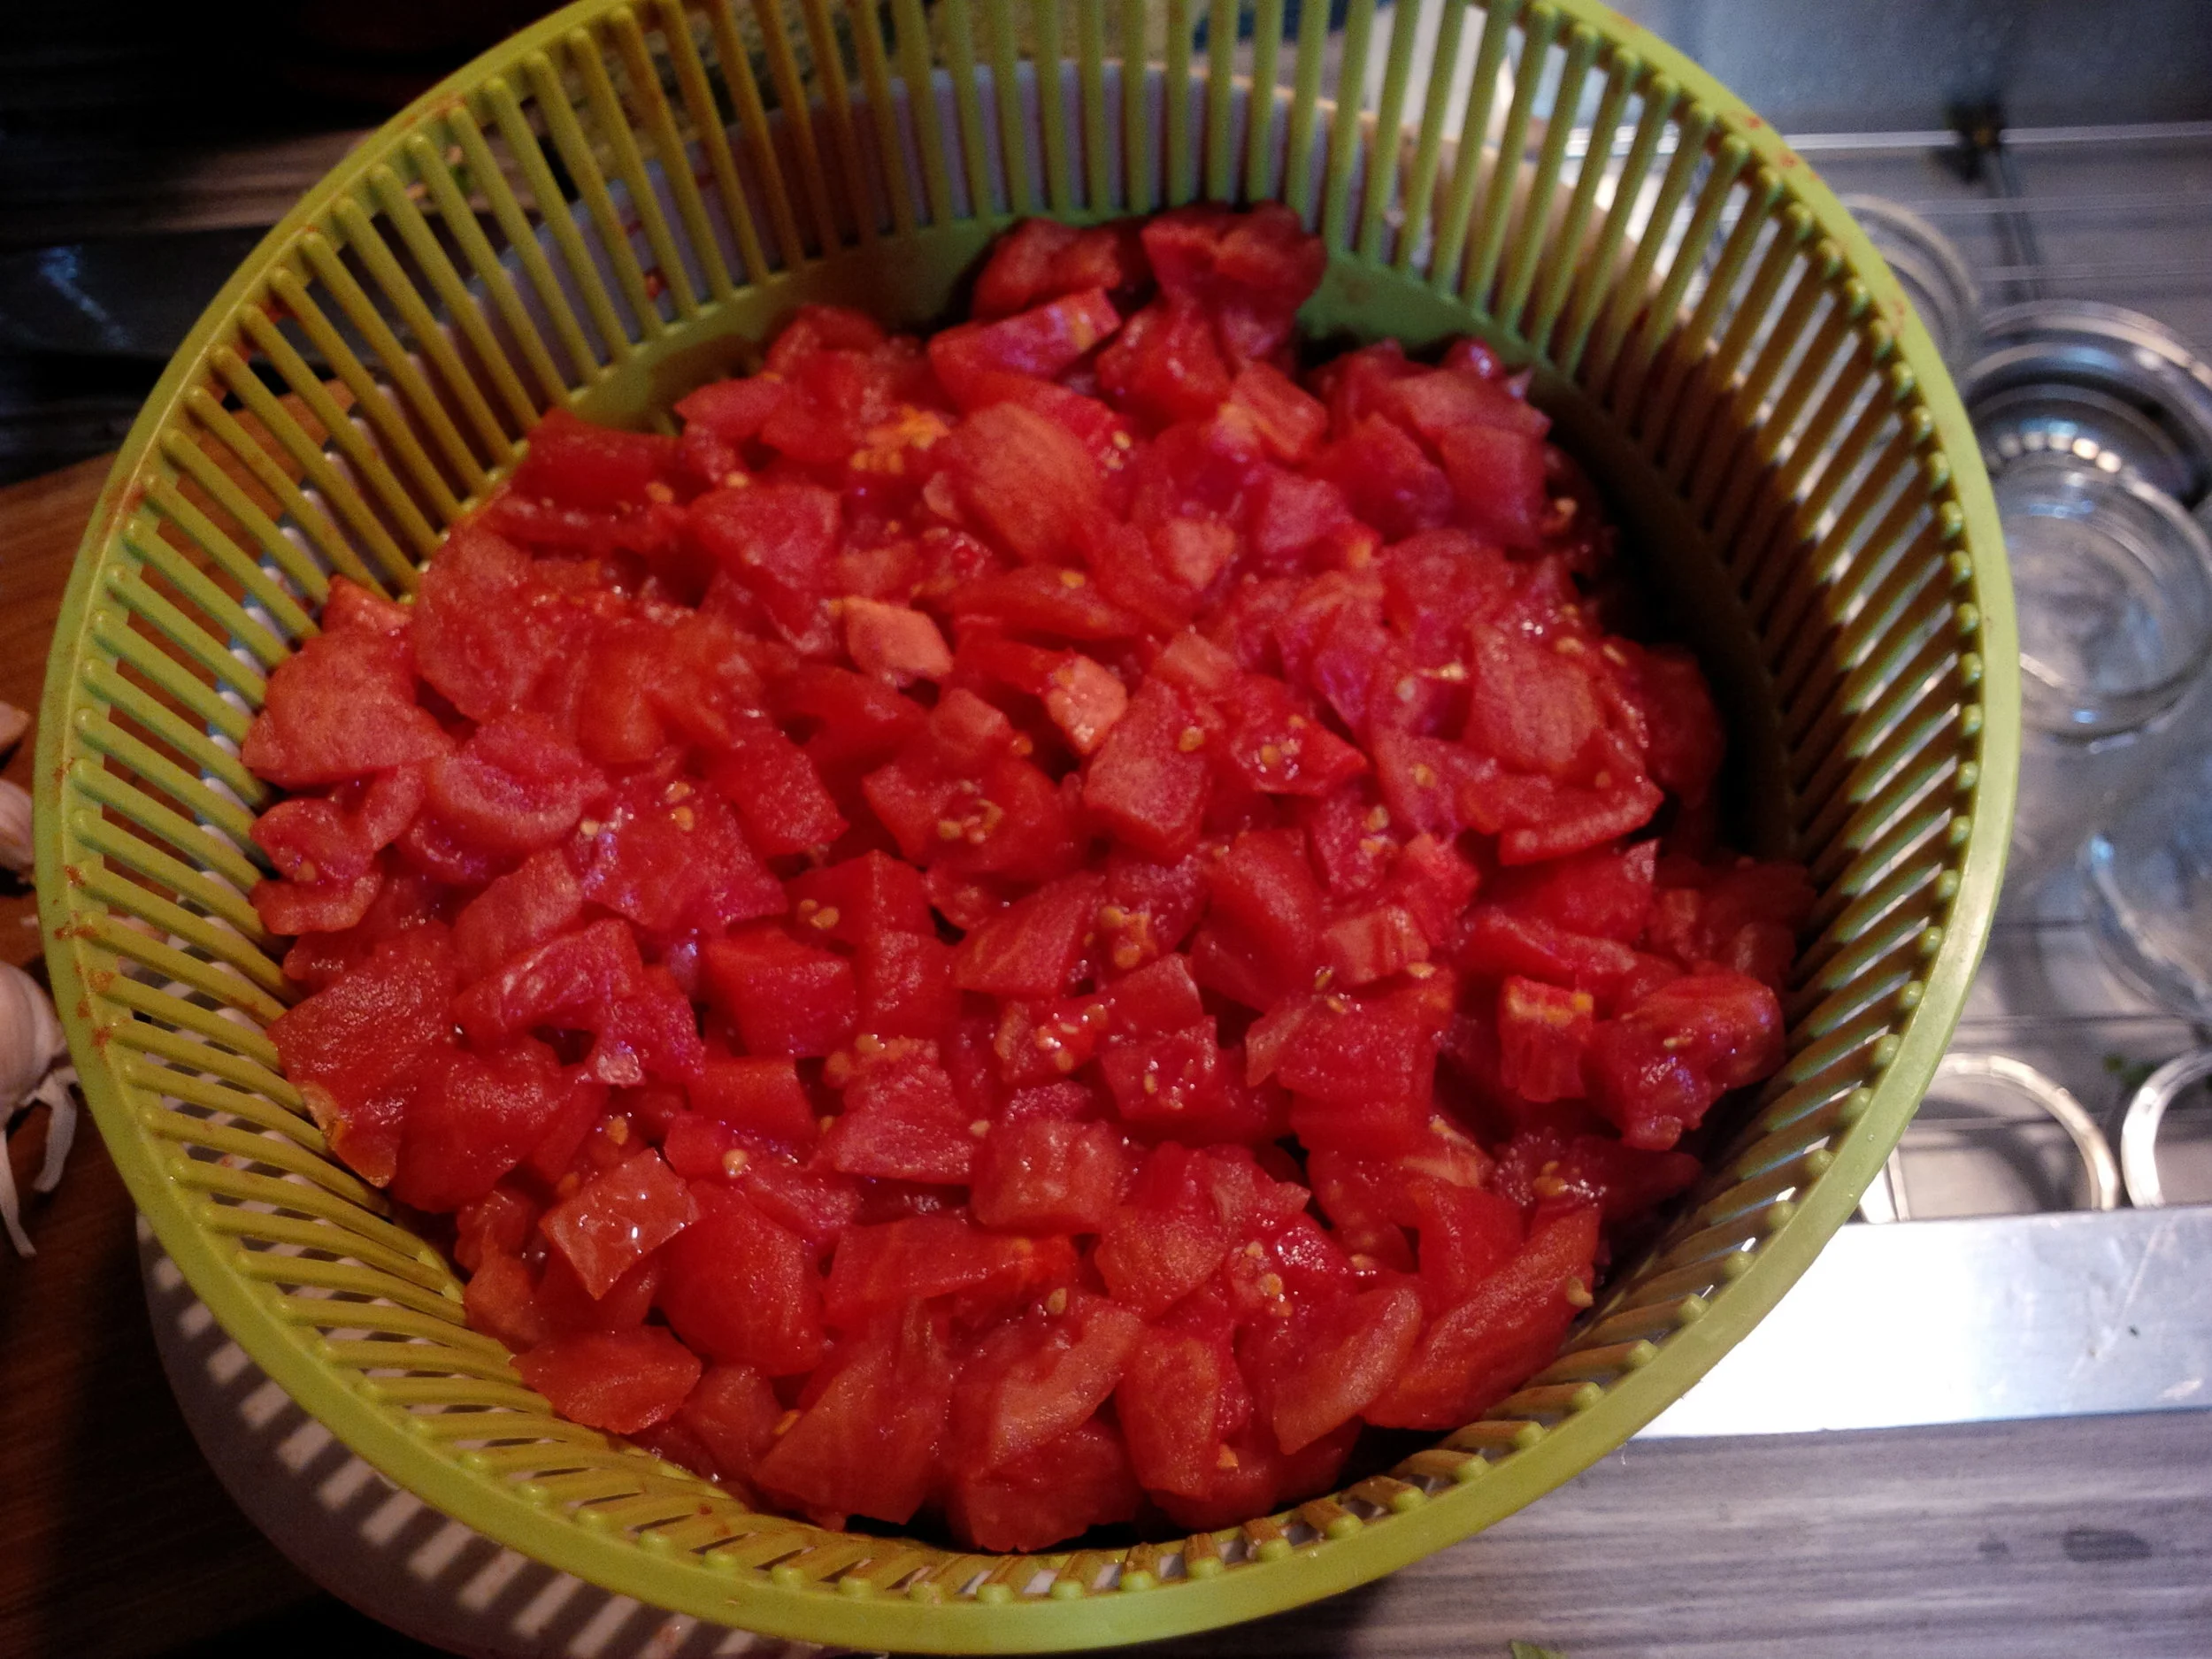
  • 24 lbs tomatoes, cored and quartered (you don’t need to peel - woo hoo!)

  • 3 cups onions, chopped

  • 3 cups cider vinegar

  • 3 T celery seeds

  • 1.5 tsp mustard seed

  • 3 cinnamon sticks

  • 1 tsp cayenne pepper (I used 1 tsp Valentina hot sauce instead)

  • 1 1/2 cups white sugar

  • 1/4 cup pickling salt

Instructions for cooking and canning:

  1. Pack spices (except the cayenne pepper) into a tea ball, tea bag or makeshift spice bag using cheesecloth. You’ll likely have to break up your cinnamon sticks or leave them whole outside of the bag.

  2. In a nonreactive pot (e.g., stainless steel), bring vinegar and spice bag (and cinnamon if separate) to a boil over high heat. Remove from heat and let stand 25 minutes or so. Discard spices.

  3. While your spiced vinegar is standing, combine tomatoes, onions, and cayenne (or, in my case, hot sauce) in a large pot and bring to a boil over high heat, stirring frequently. Reduce heat and simmer for 20 minutes.

  4. Add spiced vinegar and continue to simmer until tomatoes and onions are soft and mixture is starting to thicken, 30 minutes or so.

  5. Using a food mill or sieve, extract all the liquid into a bowl or another pot. The solids are now beautiful fuel for your compost or you could dehydrate for tomato powder.

  6. Return liquid to your cooking pot. At this point for me, it looked like tomato-coloured water. I was not optimistic. Be patient. Add sugar and salt. Bring to a boil over medium heat, stirring occasionally.

  7. Reduce heat and boil gently, stirring frequently, until volume is reduced by at least half and it is almost the consistency of store-bought ketchup. The recipe says this will be about 45 minutes. I simmered it for probably 2 hours or so because I was doing other things and in no rush.

  8. Start heating your water bath, and thoroughly wash and rinse your jars. If you are working in a vigorously air conditioned room, put your jars in the water bath as it heats up and keep them in there until you are ready to fill.

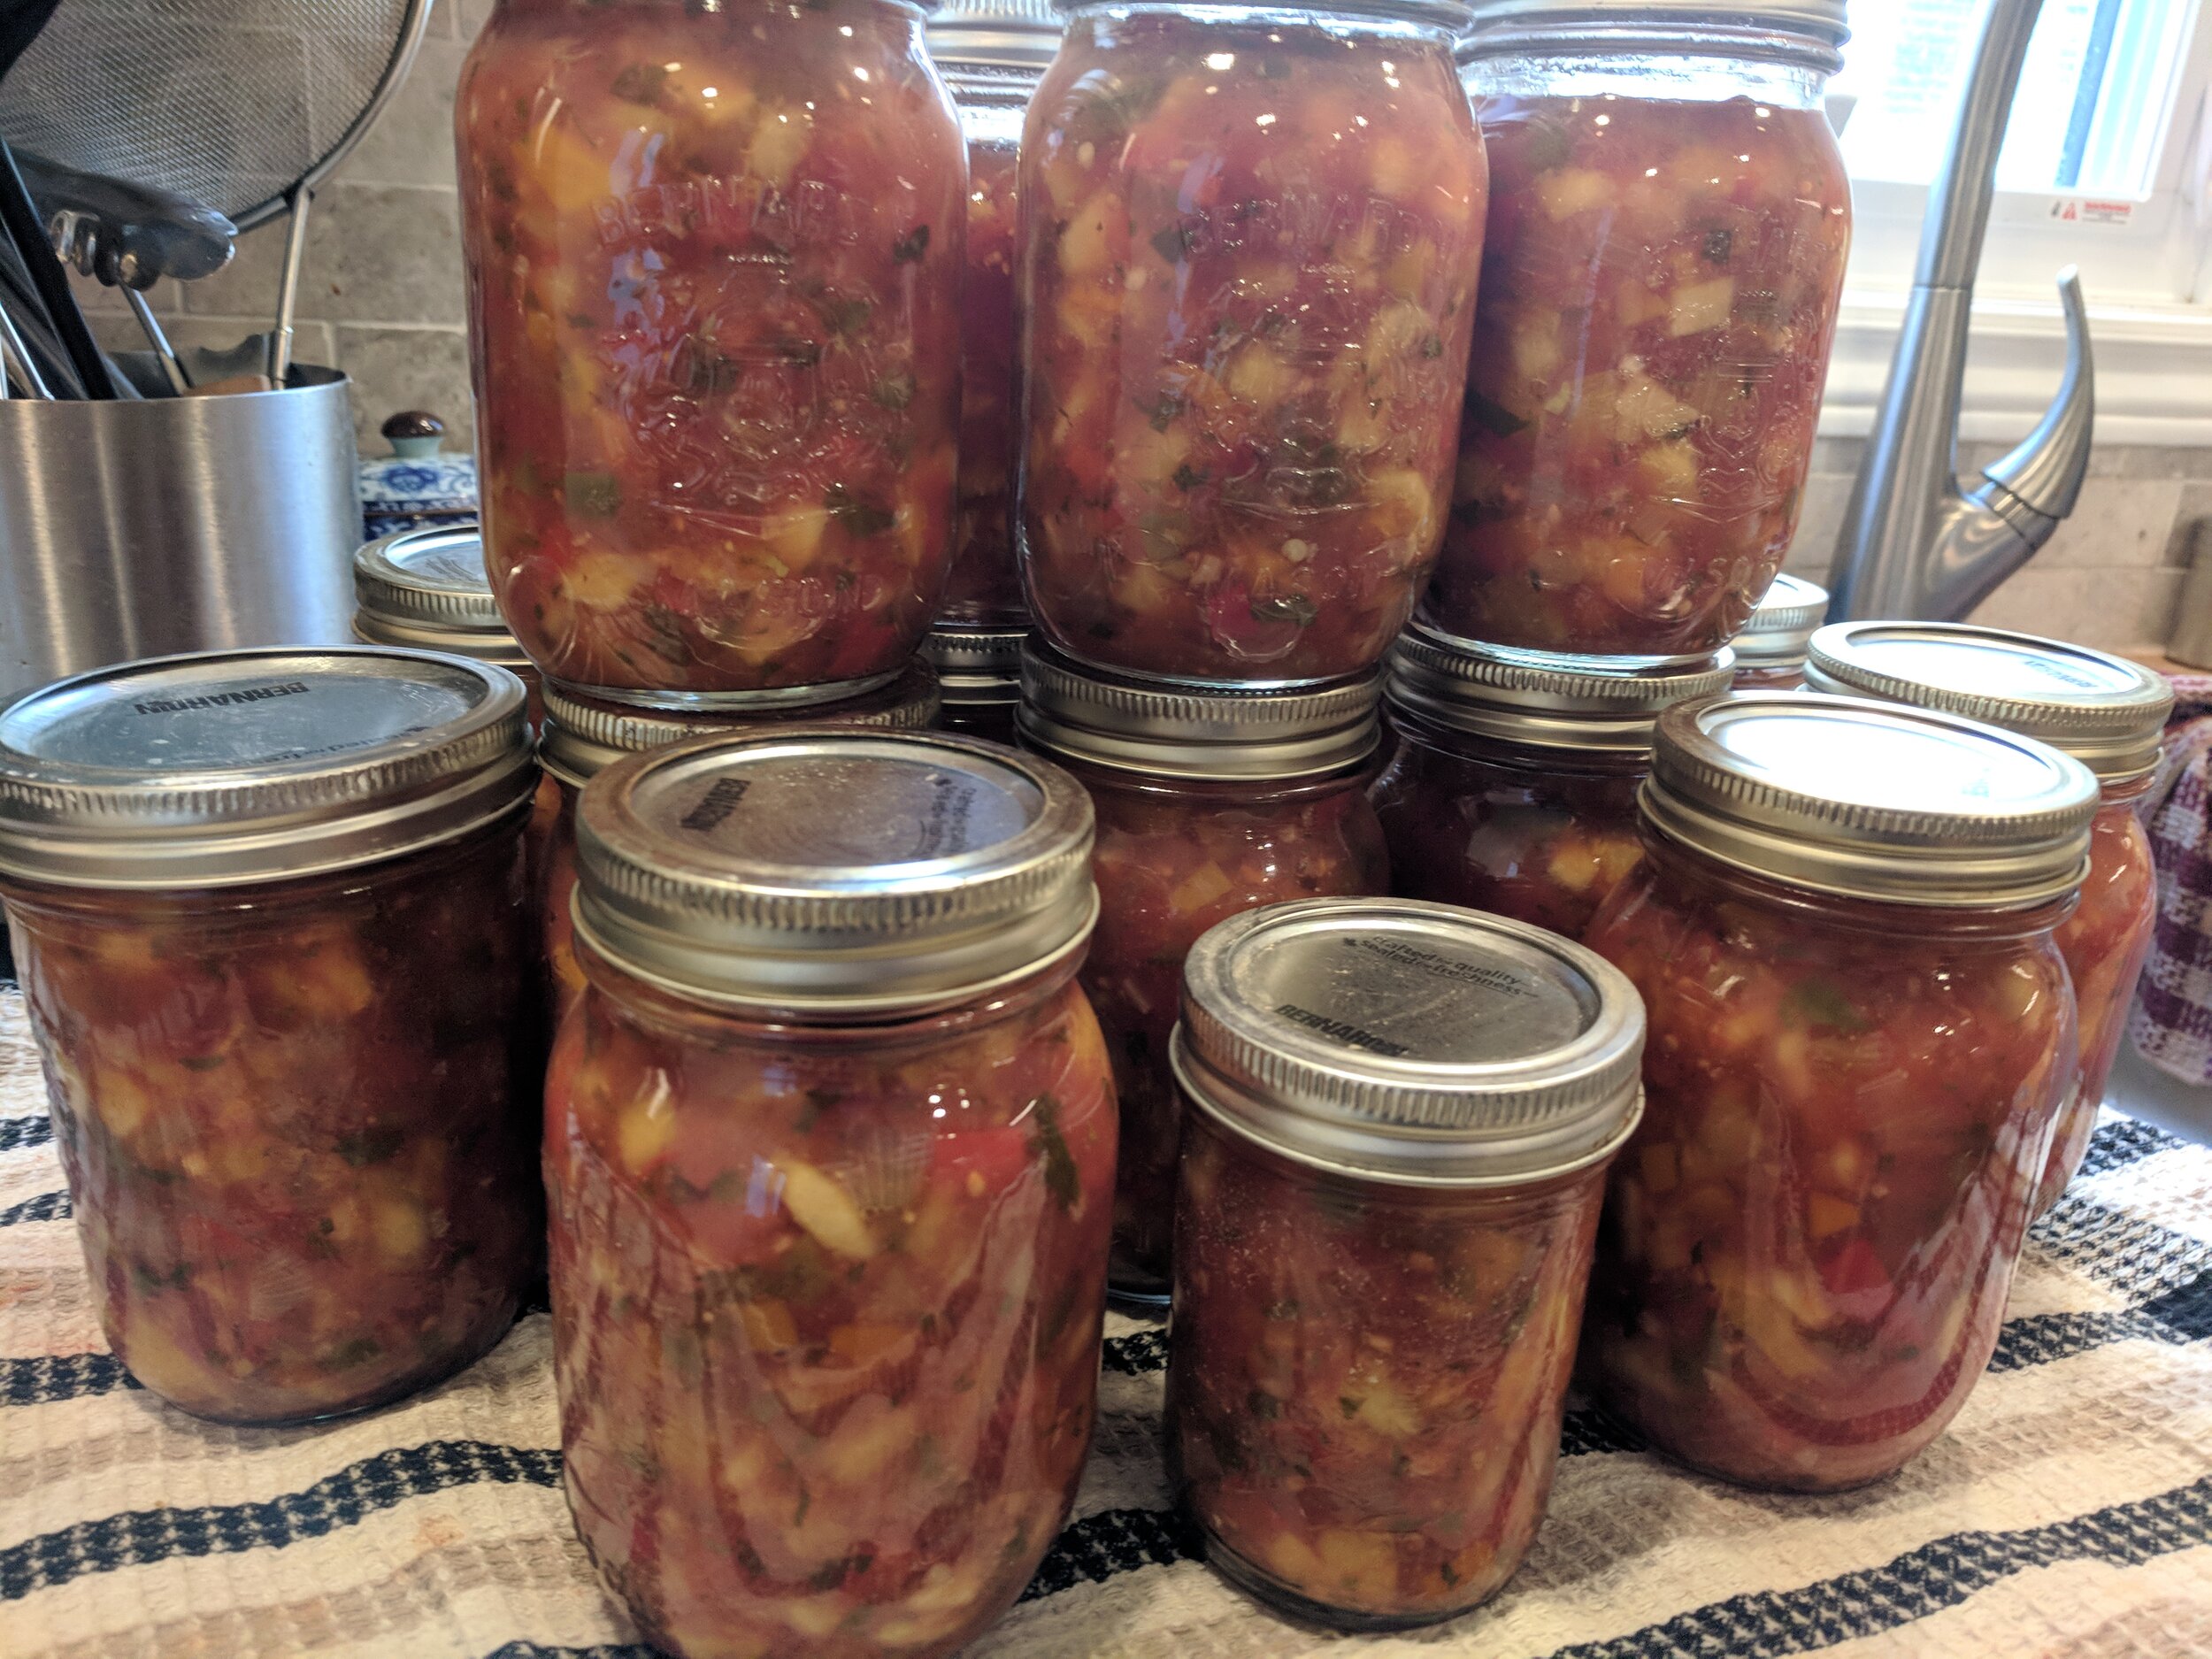
  9. Once the ketchup is thickened to your liking, quickly ladle the hot ketchup into warm jars, using a wide mouth funnel. Leave about a 1/2 inch (1 cm) of headspace.

  10. "Bubble" each jar with a skewer or chopstick to release any trapped air. Wipe each rim with a clean paper towel, dampened with vinegar. Place a snap lid down and screw the ring on finger tip tight. 

  11. Put the jars into your water bath canner. Make sure there is at least an inch of water above the top of your jars. Put the lid on and return to the boil for 15 minutes. Don’t start your timer until you have a jolly boil.

  12. Enjoy!

So far, I’ve savoured this ketchup on hamburgers and KD. It is really very good. I did not know if the labour would be worth it, but I’m thinking yes. The real test will be if we’re heartbroken and pining for tomato season when we finish the last jar.

Open-faced hamburger covered in ketchup, sitting on plate
In Condiments
Comment

Super-easy chive blossom vinegar

July 5, 2021 Frances Ranger
PXL_20210621_213009099.jpg

When I grow up, I want to be one of those capable people who know how to take care of themselves and others. Who make the most of what they have at hand. Who just have the knack of turning a sow’s ear into a silk purse. Although maybe not actually that last one. You know what I mean though, right?

I find myself often looking at things I’ve taken for granted and asking, what more could I do with this? And here we come to the chive blossoms. I’ve always loved chives. As a little kid, I would happily pick and graze away at fresh chives straight out of the garden. This year, I looked at the beautiful blossoms and thought, hmmmm… Turns out there are several uses for them, and flavoured vinegar sounded like a great place to start.

You’ll need:

  • Chive blossoms (I had a quart size jar full)

  • White vinegar (I used somewhere between 3 and 4 cups worth)

  • Mason jars and lids for infusing (I had a quart jar and two pints)

  • Pretty glass jars and lids for storage, if you wish (dollar store, yo!)

Instructions:

  1. Put your blossoms in a colander and rinse them well with cold water. Pick through them gently to make sure you have no debris or bugs.

  2. Loosely pack the blossoms into your mason jars until each jar is about half full of blossoms.

  3. Pour vinegar over the blossoms to completely immerse them. Give them a stir.

  4. Cover the jars tightly and put them away in a cool, dark cupboard for 2 weeks or so.

  5. Strain your vinegar using a couple layers of cheesecloth or a very fine mesh strainer. I strained all mine into a single big measuring cup, so my finished bottles would have a consistent appearance and flavour.

  6. Pour into your storage bottles and marvel at their beauty!

Just poured
Just poured
One week
One week
Two weeks
Two weeks
In Condiments
Comment

Tomatillo salsa

September 23, 2020 Frances Ranger
IMG_20200830_154634.jpg

I was at the St. Jacobs Farmers Market just once this summer, which breaks my heart a little. Fortunately, my one visit was in late August when the best of Southern Ontario’s fields overflows every stall. In addition to blackberries, tomatoes and a few other odds and ends, my eyes lit on a gorgeous basket of tomatillos. I’ve tried to grow them (unsuccessfully), but never canned with them before. So exciting!

I sorted through several recipes before selecting this one. I was intrigued by the use of oregano rather than cilantro. It makes a very good salsa, although I would cut down on the amount of oregano the next time. It’s such a distinct flavour that I would prefer to be a bit more subtle.

You will need:

IMG_20200830_102943.jpg
  • 10 cups chopped tomatillos (you can use green tomatoes instead if you prefer)

  • 3 cups seeded, chopped long green chiles

  • 1 cup seeded, finely chopped jalapeño peppers

  • 8 cups chopped onions

  • 2 cups bottled lemon or lime juice (I used lime)

  • 12 cloves garlic, finely chopped

  • 2 T ground cumin (optional, I included it)

  • 5 T dried oregano leaves (optional, I included it)

  • 2 T salt

  • 2 t black pepper

  • 10 pint-sized mason jars (or ~20 half-pints)

  • Equivalent number of snap lids and rings

Directions for cooking and canning:

IMG_20200830_134936.jpg
  1. As always, wash your Mason jars in hot soapy water. Rinse well. Since your salsa jars will be boiling in the water bath for 15 minutes, you don't need to pre-sterilize.

  2. Remove the dry outer husks from tomatillos. Wash tomatillos thoroughly. Delightfully, they do not need to be peeled or seeded.

  3. Speaking of peeling, your long green chile peppers are rather nicer with the tough peel removed. I split them open, blistered them in the oven at 400 degrees for several minutes, then sealed them hot into a plastic bag until they cooled. In theory, the peels should slip off easily at that point. In reality, it wasn’t quite so elegant but I got the job done. The seeds were easy to remove at least.

  4. Wearing gloves, halve your jalapenos and remove the stem. You can leave the seeds in.

  5. Finely chop all the peppers, onions and garlic. (My 3-cup mini chopper proved itself a champ once again. The minced garlic was a thin of beauty!)

  6. Combine all the ingredients into a large sauce pan, and stir frequently over high heat until it comes to a boil. At that point, reduce heat and simmer for 20 minutes, stirring occasionally.

  7. While your salsa is simmering, start heating your water bath. If your water is hard, you can add a splash of white vinegar to help prevent water stains.

  8. Put the lids in a saucepan of water and bring to a simmer. Keep them in the hot water until you are ready to use them. (Some lid manufacturers say this is no longer necessary, but I still do it.)

  9. Ladle hot salsa into your clean mason jars leaving about 1.5 cm headspace. If you are working in an air conditioned or otherwise chilly kitchen, it’s a good idea to heat your jars before filling so they aren’t shocked by the heat of the salsa. (A quick swim in your water bath will warm them right up.)

  10. "Bubble" each jar with a skewer or chopstick to release any trapped air. Wipe each rim with a clean paper towel dipped in vinegar. Place the snap lid down and screw the ring on fingertip tight.

  11. Put the jars into your water bath canner. Make sure there is at least an inch of water above the top of your jars. Put the canner lid on and return to the boil for 15 minutes. Don't start your timer until the water is boiling.

  12. Remove jars from the canner or let them sit in the canner until everything calms down.

  13. Make sure all the jars are sealed before you put them away. Any that still haven’t sealed within 24 hours go in the fridge.

IMG_20200902_104408.jpg
In Condiments
Comment

Delicious cucumber relish

August 28, 2020 Frances Ranger
IMG_20200821_111443-crop.jpg

I’ve never made relish before. I was daunted by all the chopping and chopping and chopping. We do have a food processor, but it’s a bit of an ordeal for me to operate it. It’s fussy and prefers Dave. True story. But my mom gave me a 3-cup food chopper for my birthday last fall, and it gave me the courage to search out some relish recipes and give ‘er a go. Turned out great!

You’ll need:

IMG_20200819_094739.jpg
  • 10 cups pickling or English cucumbers, peels on, finely chopped (approximately 3 1/2 to 4 pounds)

  • 4 cups red bell pepper, finely chopped (about 4 large peppers)

  • 3 cups green bell pepper, finely chopped (about 2 to 3 large peppers)

  • 1 cup celery, finely chopped (about 4 large ribs)

  • 1 cup peeled onion, finely chopped (about 2 medium onions or 1 honking big one)

  • 1/2 cup pickling salt

  • 3 1/2 cups white vinegar

  • 2 1/3 cups granulated sugar

  • 1/4 cup mustard seeds (seriously! not a typo)

  • 2 tablespoons celery seeds

  • 12 or 13 1/2 pint (250 ml) jars

  • Equivalent number of snap lids and rings

Instructions for cooking and canning:

IMG_20200819_114057.jpg
  1. Wash your Mason jars in hot soapy water. Rinse well. Since your relish jars will be boiling in the water bath for 10 minutes, you don't need to pre-sterilize but they’ve got to start out clean.

  2. Put the chopped vegetables in a large bowl or stainless steel pot. Add the pickling salt (I only had table salt, so used that instead), stir to blend, cover, and let stand at room temperature for at least 4 hours.

  3. After 4 hours, move the vegetables to a large colander to drain, and rinse thoroughly with cold water. Using your hands, squeeze out excess liquids. (I had to do this step in stages of small batches with a metal strainer because my large colander has holes that are too big and some of my precious, finely chopped vegetables would have shot straight down the drain.)

  4. Start heating your water bath. If you are working in a cold kitchen with AC blasting, put your jars into the water bath to heat up as well. You don’t want boiling relish going into chilled jars.

  5. In a large stainless steel pot (well rinsed if it’s the one that held the salted veg), combine the vinegar, sugar, mustard seeds, and celery seeds. Bring to a boil over medium-high heat.

  6. Add the well-drained vegetables and stir to blend. Bring back to a full boil.

  7. Then, reduce heat to medium-low and simmer for 10 minutes, stirring occasionally.

  8. Put the lids in a saucepan of water and bring to a simmer. Keep them in the hot water until you are ready to use them. (Some lid manufacturers say this is no longer necessary, but I still do it.)

  9. Quickly ladle relish into warm jars, using a wide mouth funnel. Leave about 1/2 inch (1.5 cm) headspace.

  10. "Bubble" each jar with a skewer or chopstick to release any trapped air. Wipe each rim with a clean paper towel dipped in vinegar. Place the snap lid down and screw the ring on fingertip tight.

  11. Put the jars into your water bath canner. Make sure there is at least an inch of water above the top of your jars. Put the canner lid on and return to the boil for 10 minutes. Don't start your timer until the water is boiling.

  12. Remove jars from the canner or let them sit in the canner until everything calms down.

  13. Make sure all the jars are sealed before you put them away. Any that still haven’t sealed within 24 hours go in the fridge.

IMG_20200819_171912.jpg
In Condiments
Comment

Candied jalapenos

August 21, 2020 Frances Ranger
IMG_20200805_174813.jpg

Amongst the American canners I know, candied jalapenos (aka “Cowboy Candy”) are a must have. I had never made them before, but when I picked up a gorgeous basket of red jalapenos and wanted to try something different, they jumped to mind right away. They’re great chopped up and mixed into a dip or as a sandwich topping or just on their own. Plus, they’re beautiful!

IMG_20200804_172752.jpg

You’ll need:

  • 2 lbs stemmed and sliced jalapeno peppers (about 40 peppers; 7 cups)

  • 1 lb thinly sliced onions (about 2.5–3 onions; 3.5 cups)

  • 2 c. cider vinegar  

  • 6 c. sugar 

  • 1/2 tsp turmeric   

  • 1/2 tsp celery seeds

  • 2 tbsp mustard seeds

  • 3 tsp garlic powder

  • 1 tsp cayenne

  • 5 1/2 pint jars 

  • 5 snap lids and rings                                                                                                                                       

Instructions for cooking and canning:

IMG_20200804_122734.jpg
IMG_20200804_192719.jpg
IMG_20200804_192834.jpg
  1. Wash your Mason jars in hot soapy water. Rinse well. Since the jars will be boiling in the water bath for 10 minutes, you don't need to pre-sterilize.

  2. In a large pot, add vinegar, sugar, and spices.  

  3. Bring to a boil, reduce heat and simmer the syrup for 5 minutes.

  4. Add peppers and onions, and simmer for 5 more minutes.

  5. Pack the peppers and onions into pint or half-pint jars, leaving 1/2-inch headspace.

  6. Bring syrup to a hard, rolling boil and boil hard for 6 minutes.  

  7. Ladle hot syrup over peppers leaving 1/2 inch headspace. 

  8. "Bubble" each jar with a skewer or chopstick to release any trapped air. Add syrup if necessary to maintain correct headspace. 

  9. Wipe each rim with a clean paper towel dipped in vinegar. Place the snap lid down and screw the ring on fingertip tight.

  10. Put the jars into your water bath canner. Make sure there is at least an inch of water above the top of your jars. Put the canner lid on and return to the boil for 10 minutes. Don't start your timer until the water is boiling.

  11. Remove jars from the canner or let them sit in the canner until everything calms down.

  12. Make sure all the jars are sealed before you put them away. Any that still haven’t popped to seal by the next day go in the fridge.

In Condiments
Comment

Peach Tomato Salsa

October 6, 2019 Frances Ranger
IMG_20190915_092621.jpg

One of my besties brought me a jar of peach salsa from a farm stand earlier this summer, and it was delicious. It fired up my intention to make my own. I started with the basic list of ingredients from the jar label and some Google searches. The recipe below is what I pulled together and, yum, I did a good job of it.

You’ll need:

IMG_20190914_183739.jpg
IMG_20190914_134313.jpg
  • 16 cups roma tomatoes, peeled and diced 

  • 7 sweet red, yellow, and/or orange peppers (about 6 cups), diced 

  • 5 yellow or white onions (about 6 cups), diced 

  • 9ish jalapeños (about 2 cups), minced 

  • 12ish cups peaches, peeled and diced

  • 2 T cumin

  • 2 T sugar

  • 1 head garlic, minced

  • 1 1/2 cup cider vinegar

  • 2 tbsp. salt or more to taste

  • Bunch of cilantro, chopped fine 

Instructions for cooking and canning:

IMG_20190914_145938.jpg
IMG_20190914_195814.jpg
  1. Wash your Mason jars in hot soapy water. Rinse well. Since your salsa will be boiling in the water bath for more than 10 minutes, you don't need to pre-sterilize but cleanliness is a must.

  2. Bring the diced tomatoes to a simmer and cook for an hour. (I’ve heard that some people leave the tomato peels on, but not me.) 

  3. While the tomatoes are cooking, dice the peppers and onions and stir them into the pot, continuing to simmer.

  4. Add the jalapeños, garlic, vinegar, and salt and continue simmering and occasionally until the salsa is reduced and thickened (time will vary depending on tomato variety’s water content). I added about two thirds of the peaches at this point as well.

  5. Prepare your pint jars for canning. Bring your water bath to a boil. 

  6. Put the snap lids in hot water to soften. It doesn't have to be boiling.

  7. Add the rest of the diced peaches and cilantro to the salsa and stir well just before beginning the jar-filling process. 

  8. Quickly ladle salsa into warm jars, using a wide mouth funnel. Leave about 1.5 cm headspace.

  9. "Bubble" each jar with a skewer or chopstick to release any trapped air. Wipe each rim with a clean paper towel dipped in vinegar. Place the snap lid down and screw the ring on fingertip tight.

  10. Put the jars into your water bath canner. Make sure there is at least an inch of water above the top of your jars. Put the canner lid on and return to the boil for 20 minutes. Don't start your timer until the water is boiling.

  11. Remove jars from the canner or let them sit in the canner until everything calms down.

  12. Make sure all the jars are sealed before you put them away. Any that still haven’t popped to seal by the next day go in the fridge.

IMG_20190914_212517.jpg
In Condiments
1 Comment

Zesty cranberry chutney

February 26, 2017 Frances Ranger

This post has been waiting since DECEMBER. Yeah. It's been 2 full months since I canned anything. 'Tis not the season for anything around here. But fresh cranberries were in grocery stores in December, and I made something with them. And without further ado, here's what I made. 

You'll need:

  • 36 ounces (3 x 340 g bags) fresh cranberries

  • 4 cups chopped white or yellow onion (the onion I used was massive)

  • 3 cups (or less) raisins (I might omit these the next time, though I guess then it wouldn't be a chutney...)

  • 2 1/4 cups light brown sugar, packed

  • 2 1/4 cups white sugar

  • 6 fresh serrano or jalapeno peppers, stems and seeds removed, finely minced (I used four of the giant jalapenos from my garden that I froze this fall, and they worked great) 

  • 3 cups white wine vinegar

  • 1 1/2 cups orange juice

  • Zest of an orange

  • 3 tablespoons grated fresh ginger

  • 4 cinnamon sticks

  • 12ish  1/2 pint (1 cup/250 ml) mason jars [I didn't have enough matching jars so I used what I had on hand: 8 1/2 pint  jars; 2 pint  jars; 1 1/4 pint (125 ml) jar]

  • Enough snap lids and rings

So pretty, aren't they?

Directions for cooking and canning:

  1. Wash your jars  in hot soap water and rinse well. 

  2. Combine all of your ingredients in a large pot. 

  3. Bring to a boil over high heat, stirring frequently.

  4. Once it comes to a boil, drop the heat to low and simmer for 15 minutes or so, until most of the cranberries have popped and the rest are quite tender.

  5. This is where I usually get a small pot out to heat water for the snap lids. This year, Santa brought me a nifty little gadget to lower the snap lids into the canner and use that water. Handy dandy! If you have one of those, heat water to the almost boil in the canner and place your snap lids in there to soften.

  6. Scoop chutney into jars leaving a centimetre or so headspace. 

  7. Bubble each jar with a skewer or chopstick to release any trapped air. Wipe each rim thoroughly with a clean damp paper towel. (This recipe suggests using a paper towel dampened with vinegar, and it works like a charm to remove the stickiness.) Place a heated snap lid down and screw the ring on finger tip tight.

  8. Put the filled jars into your water bath canner. Make sure there is at least an inch of water above the top of your jars. Don't start your timer until the water is boiling. Boil for 15 minutes. 

  9. Remove jars from the canner. Repeat with the next batch if you have more jars. 

Obviously it would be lovely to serve with a holiday turkey dinner. The mild heat and tartness of the chutney would compliment a typically rich festive meal quite nicely. 

IMG_20170103_072223.jpg

It's also delish on a roast beef sandwich. Enjoy!

I adapted this recipe from a fabulous canning cookbook I got this year for Christmas. If you're looking for some interesting recipes and a thoughtful approach to canning, check out Not Your Mama’s Canning Book by Rebecca Lindamood. 

In Preserves, Condiments
Comment

The best chile–lime no-vinegar salsa ever

October 1, 2016 Frances Ranger

I've made this salsa a bunch of times, tweaking and refining. The following instructions are how I've made it the last two times and, I have to say, I think we nailed it. I make it in BIG batches, so we have enough to last all year. In fact, in 2014, I doubled the recipe so we actually didn't run out until spring of this year. (We had to buy salsa all summer waiting for the tomatoes. Believe me, homemade is so much better.)

I find the lime juice gives this salsa a brighter, more summery taste than those made with vinegar. And you can vary the heat considerably by the peppers you choose, but be sure not to increase the proportion of peppers to other ingredients. That is, if you want to make it hotter, swap in some Thai chiles for a couple of jalapenos, for example, or make it more mild by using sweet pepper instead of hot pepper. Got it?

This is a lotta work. You ready? Here we go!

You'll need:

  • 1/2 bushel plum tomatoes

  • pickling salt

  • 4 large onions (I used a mix of red and white that I had on hand)

  • 3 heads of garlic

  • 1 pound Jalapeño peppers (I used a mix of jalapenos and med-hot red peppers out of our garden; they were all big and beautiful this year so it was probably 18 or so)

  • 6 large Ancho chiles

  • 2 1/2 cups minced cilantro (2 big bunches)

  • 1/4 cup cumin seed, ground

  • 1 can tomato paste

  • 20 pint (500 ml) Mason jars

  • 20 snap lids and rings

And per jar:

  • 3 tablespoons lime juice

Instructions for cooking and canning:

Start the evening of the day before. I warned you about the amount of work, right?

Roast the ancho chiles:

  1. Preheat grill on med-high. Rinse and pat dry the chiles.

  2. Place the chiles directly on the grill. Roast them, turning occasionally, until they are nicely softened and blackened all over.

  3. Once they cool, the outer blackened skin is fairly easy to rub/peel off.

  4. Slice in half. Cut off the stem and scrape out the seeds.

  5. Chop.

Here they are after they've cooled and have had their crackly outer peel removed.

Here they are after they've cooled and have had their crackly outer peel removed.

Prep the tomatoes:

  1. Make sure you have plenty of ice or very cold water.

  2. Wash your jars in hot soapy water and rinse well.

  3. Rinse your tomatoes well and rub off any bits of field dirt.

  4. Take a sharp paring knife and cut an X into each tomato.

  5. Put a good-size pot of water on to boil. Put ice and/or very cold water in a large bowl or your clean sink.

  6. Working with about a half-dozen tomatoes at a time, put them in the boiling water for about a minute, then remove them to the ice bath. 

  7. Once they've cooled, their skins will slip off quite easily, especially if you've given them a starting place with that X. Peel the tomatoes, core and chop the tomatoes.

  8. Layer the chopped tomatoes with salt in a strainer. I usually end up filling two or three strainers, sitting them each inside a pot or a bowl to catch the drained liquid. If the strainer would otherwise touch the bottom of the pot/bowl, I put a small bowl overturned on the bottom to elevate the strainer. Don't want the tomatoes sitting in their own juices overnight. (That is the opposite of draining!)

  9. Let them sit somewhere cool overnight, but not in the fridge. I also drape tea towels over them to protect them from any rogue houseflies that tend to be around at this time of year.

This is the next day. See how they're much less juicy?

This is the next day. See how they're much less juicy?

Sleep. And then wake up, and get started again. You might want to have a couple of good podcasts queued up. (Have I mentioned Rex Factor? So good. I'm on the Kings and Queens of Scots now.)

  1. Now chop all the other things. Always wear gloves for the pepper chopping. For real real.

  2. Place the strained tomatoes in a very large pot. I like to use my pressure canner pot for this because it's huge and so lovely and heavy. Turn the burner on to medium.

  3. Add the chopped onions, garlic, and Ancho chiles. Add most but not quite all of the jalapeno peppers. Stir, stir, stir.

  4. Add the mixed cilantro and ground cumin seed. More stirring.

  5. Mix the tomato paste with a cupful of the salsa, until it is lump-free. Mix it into the pot of salsa.

  6. Taste the salsa, and add some salt if you think it needs some more. It probably does, but not a lot. Now, you need to make a decision about the level of pepper heat. If it's pretty awesome how it is, add the rest of your chopped jalapeno. If it's too tame, chop and add a small amount of hotter chile (like Thai bird's eye, for example.) My garden peppers were nicely hot this year, so no need for me to swap anything out. A few shakes of Tapatio sauce could safely upgrade the heat for you as well.

  7. Bring the salsa to a boil.

  8. In the meantime, wash your jars in hot soapy water and rinse well. Heat water in a small pot and put your snap lids in there to soften.

  9. Add 3 tablespoons of lime juice to each jar.

  10. Quickly ladle hot salsa into jars, using a wide mouth funnel. Important: make sure your jars aren't cold or they might react quite dramatically to hot salsa. I find this is not a problem in a hot summer kitchen, but you may be a fan of frigid air conditioning, in which case you might want to heat your jars in the oven or water bath before filling.  Leave about 1 cm headspace.

  11. "Bubble" each jar with a skewer or chopstick to release any trapped air. Wipe each rim with a clean damp paper towel. Place the snap lid down and screw the ring on finger tip tight. 

  12. Put the jars into your water bath canner. Make sure there is at least an inch of water above the top of your jars. Put the pot lid on and heat to the boil. Boil for 20 minutes. Don't start your timer until the water is boiling. 

  13. Remove jars from the canner (or let them sit in the canner until everything calms down).

  14. Repeat with the next batch.

Enjoy! So worth the work. And like childbirth, you'll sort of forget the labour pains until you're well into it the next time!

In Condiments Tags water bath canning, salsa, lime salsa
Comment

Canning season starts with rhubarb chutney

May 25, 2016 Frances Ranger
It is not the prettiest but SO GOOD.

It is not the prettiest but SO GOOD.

Yay! Finally, there's fresh local produce again. Makes me so happy. And kicks canning season into gear too. 

You'll need:

  • 5 cups rhubarb, chopped

  • 3 1/4 cups white sugar

  • 1 1/4 cup white vinegar (I bet apple cider vinegar would rock too)

  • 4 teaspoons curry powder

  • 10 or so shakes of Tapatio sauce (or other hot sauce or a generous pinch of cayenne powder - follow your heart)

  • Generous 1/2 teaspoon salt

  • 5 half-pint (250 ml) Mason jars 

  • 5 snap lids and rings

Directions for cooking and canning:

  1. Wash your Mason jars in hot soapy water. Rinse well.

  2. Fill your canning pot halfway-ish with water and put it on to heat. You can place your Mason jars in there for a good sterilization. (It's my understanding that you don't need to pre-sterilize jars if they'll be in the water bath for at least 10 minutes, but I often do it anyway. Belt and suspenders, people!)

  3.  Wash and chop your rhubarb and put it in and the vinegar in another pot on medium heat.

  4. Throw in the sugar. Admire it.

  5. Add the salt, curry powder and Tapatio or whatever peppery element you're using. Stir it well. 

6.  It'll get really watery as the rhubarb releases its moisture. Cook it down. 

7. You might want to take a little taste to check for spice level. Add another shake or two of hot sauce if the spirit moves you. Cook it down some more, stirring occasionally. I think this part was at least 30 minutes. 

8. Rescue your Mason jars from the boiling water at some point while your rhubarb cooks. You can shut off the burner under your canning pot. It'll stay hot for quite awhile. 

9. When your chutney is nicely cooked down, ladle it into your nice clean hot jars. A wide mouth funnel makes this step much easier and neater. Leave about 1 cm headspace. Reserve any extra to enjoy as soon as it cools.  

10. Scoop some of the still-very-hot water into a small pot and put your snap lids in there to heat. (Apparently this step is also not necessary, but I do it anyway.) 

11. "Bubble" each jar with a skewer or chopstick to release any trapped air. Wipe each rim with a clean damp paper towel. Place the snap lid down and screw the ring on finger tip tight. 

12. Put the jars into your water bath canner. Make sure there is at least an inch of water above the top of your jars. Put the pot lid on and return to the boil for 10 minutes. Don't start your timer until the water is boiling. 

13. Remove jars from the canner (or let them sit in the canner until everything calms down). Listen to the music of the lids as they pop! pop! pop! sealed. 

Now, relax and enjoy! This chutney is great as a spread on cream cheese and crackers, as a condiment with pork or chicken, or as a chutney with a robust Indian dinner.  

Stoned wheat thins (heh heh), chutney, and cream cheese and an icy cold 67 on a hot, sunny May 2-4 at the beach. Heaven. 

Stoned wheat thins (heh heh), chutney, and cream cheese and an icy cold 67 on a hot, sunny May 2-4 at the beach. Heaven. 

In Preserves, Condiments Tags rhubarb, chutney, spread
Comment
Featured
PXL_20230422_204437068.jpg
Apr 30, 2023
Pic N Mix cowl
Apr 30, 2023
Apr 30, 2023
Riptide 1.jpeg
Mar 26, 2023
Riptide sweater
Mar 26, 2023
Mar 26, 2023
PXL_20221027_144710983.jpg
Mar 11, 2023
More socks for meeee
Mar 11, 2023
Mar 11, 2023
PXL_20220923_201724017.jpg
Mar 11, 2023
Baby socks and stocking cap for a sweet lil elf
Mar 11, 2023
Mar 11, 2023